












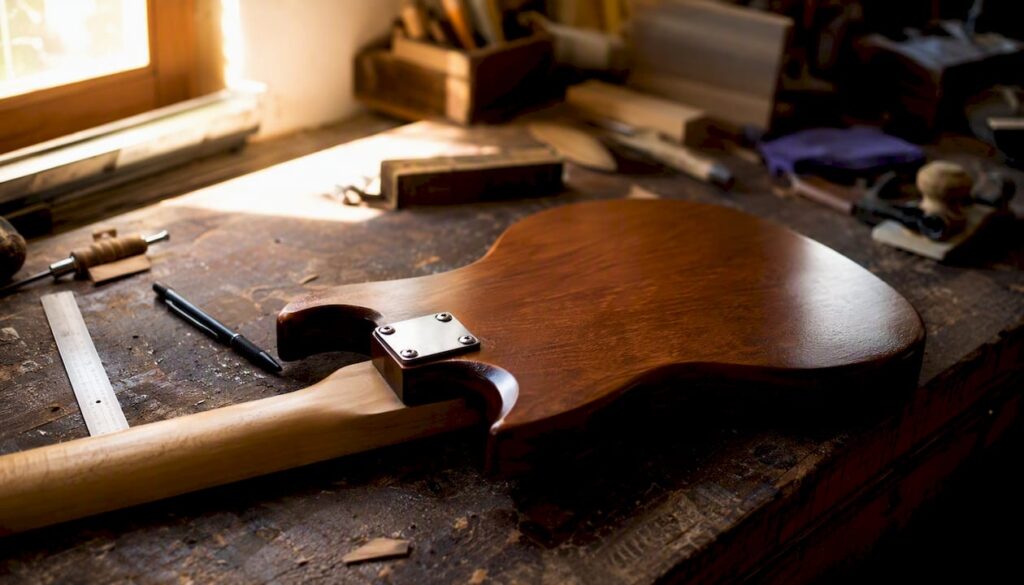

A bolt-on neck is a guitar neck attached to the body using mechanical fasteners, typically wood screws or machine bolts, rather than glued in place or carved from the same piece of wood as the body. The practical verdict: if you want an instrument you can service, adjust, or swap necks on without a luthier’s heat gun and a prayer, bolt-on construction is the right choice. If you’re chasing maximum sustain and a seamless tonal blend between neck and body, a set neck or neck-through design may suit you better. For collectors, the bolt-on’s biggest advantage isn’t tonal at all — it’s that the neck can be removed without touching the original finish, which preserves both the instrument and its appraisal value.
Bolt-on construction is most common on solid-body electric guitars. Maple necks mated to alder, ash, or poplar bodies are the standard pairing, and the joint is typically secured with four screws through a metal neck plate. The term “bolt-on” is technically a misnomer for many modern instruments, which use threaded metal inserts and machine bolts rather than wood screws — but the name has stuck in luthier practice and everyday guitar talk alike.
Table of Contents
- How is a bolt-on neck actually built?
- What do bolt-on necks actually do well?
- What are the real drawbacks of bolt-on construction?
- Bolt-on vs. set neck vs. neck-through: which is right for you?
- How do you install a bolt-on neck correctly?
- Maintenance, repair timelines, and what things cost in the U.S.
- How does a bolt-on joint shape your tone in practice?
- What should you check before buying a bolt-on guitar?
- Common myths about bolt-on necks, debunked
- Why bolt-on construction matters for vintage instruments and collectors
- Key Takeaways
- The case for bolt-on construction in a collector’s world
- Vintage-guitar-world: professional testing, appraisal, and curated bolt-on instruments
- Authoritative sources and further reading
How is a bolt-on neck actually built?
The joint starts with the neck pocket, a routed cavity in the body sized to accept the neck heel with a snug, gap-free fit. The heel is the squared-off base of the neck that slides into that pocket. How well those two surfaces mate is the single most important factor in how the joint performs, both structurally and tonally.
Fastener types and where they’re used:
- Wood screws through a neck plate: The classic approach. A stamped steel or brass plate sits on the back of the body, and four screws pass through it, through the body, and bite directly into the wood of the neck heel. Simple, cheap, and effective when the wood is dense and the pilot holes are correctly sized.
- Machine bolts with threaded metal inserts: A more durable option used on many professional-grade instruments. The inserts are pressed or screwed into the neck heel, and machine bolts thread into them from the body side. This setup reduces wear on the heel wood and allows repeated neck swaps without the threads stripping out.
- Three-bolt variants: Some designs use three fasteners, often with a micro-tilt adjustment mechanism built into the neck plate. This lets you dial in neck angle without shimming.
Common materials for bolt-on necks are quartersawn or flatsawn maple, chosen for stiffness and stability. Bodies are typically alder (bright and balanced), ash (heavier, with more pronounced highs and lows), or poplar (a budget-friendly substitute with similar properties to alder). The wood combination shapes the tonal character of the finished instrument as much as the joint type does.
Heel styles vary from the traditional square heel (maximum gluing surface area, but bulky at the upper frets) to contoured or sculpted heels that improve access to the 15th fret and above. Some builders use a recessed neck pocket that drops the heel flush with the body surface, which helps with both access and aesthetics.

Pro Tip: The neck pocket should fit the heel with zero side-to-side play. You should feel light resistance when sliding the neck in by hand. Any visible gap wider than a business card’s thickness is a red flag for tonal loss and structural instability. Shims go between the heel and the bottom of the pocket to correct neck angle — never wedge them at the sides.
What do bolt-on necks actually do well?
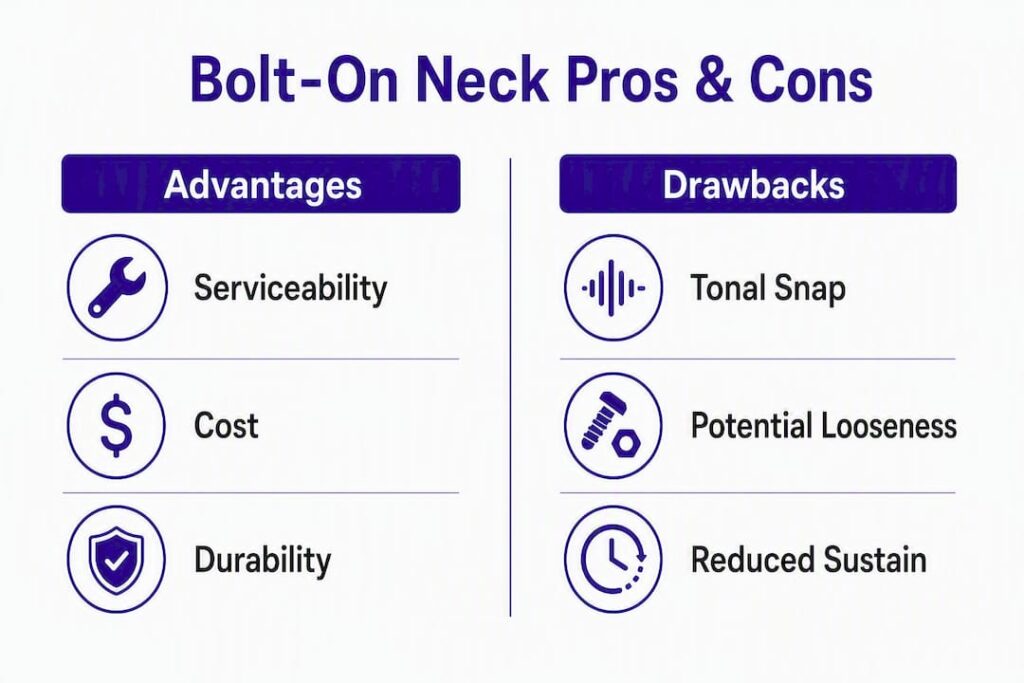
Serviceability is the headline benefit, and it’s a real one. A bolt-on neck can be removed quickly with a screwdriver, which means truss rod access, fret work, neck resets, and full neck replacements are all straightforward procedures. Compare that to a set-neck guitar, where a neck reset requires heat, specialized tools, and the risk of finish damage — a job most players send to a shop.
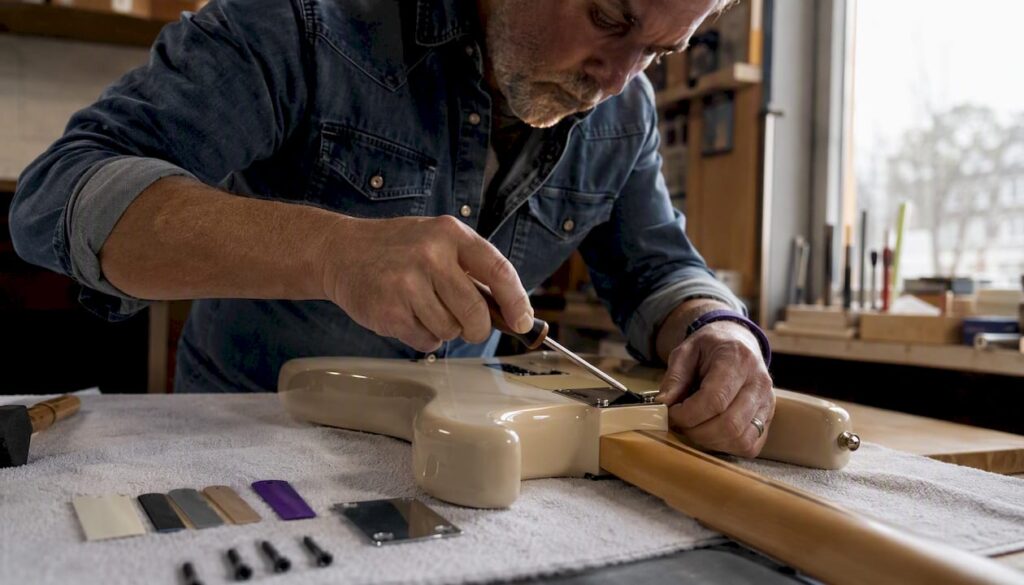
Shim-based angle adjustment deserves special mention. Slipping a correctly sized shim into the heel pocket raises or lowers the neck angle, which directly affects action and intonation. It’s a reversible fix that costs nothing and preserves both the neck and body. Authoritative shop manuals treat shimming as a standard technique, not a hack.
The mechanical joint also has a durability advantage that surprises people. In a hard impact, the slight flex in a bolt-on joint can absorb shock that would crack or split a glued joint. For gigging musicians who load and unload instruments regularly, that resilience matters. A bolt-on neck that gets knocked loose can be re-tightened; a set neck that cracks at the glue line is a major repair.
Cost and manufacturing efficiency round out the advantages. Bolt-on construction allows necks and bodies to be built separately, finished independently, and assembled at the end of production. That efficiency keeps prices lower without compromising structural integrity when the fit is right.
Pro Tip: When refretting a bolt-on guitar, remove the neck first. Working on a detached neck gives you better access to the fret slots, lets you use a fret press more accurately, and eliminates the risk of scratching the body.
What are the real drawbacks of bolt-on construction?
The most discussed downside is tonal. Bolt-on joints tend to produce a snappier, more percussive attack with slightly less natural sustain compared to set-neck or neck-through designs. The mechanical interface between neck and body doesn’t transfer vibration as continuously as a glued joint does, which is why notes decay a little faster. That said, the difference is often overstated, and a tight pocket can close the gap considerably.
Upper-fret access is the other genuine limitation. The square heel profile on traditional bolt-on designs creates a noticeable bump where the neck meets the body, making it physically harder to reach frets above the 14th or 15th position comfortably. Contoured heels and recessed pockets help, but they add manufacturing complexity and cost.
Inspection red flags when buying used:
- Stripped screw holes in the heel or body — a sign of repeated removal without proper technique
- Mismatched screw heads (e.g., Phillips mixed with hex) suggesting non-original hardware
- Visible gaps between the heel and pocket walls, especially on the bass or treble side
- A neck plate that sits unevenly or shows signs of bending
- Pilot holes that have been enlarged, filled, or re-drilled at a slightly different angle
A loose or poorly seated pocket doesn’t just affect tone. It creates a hinge point that puts stress on the screws with every string bend, accelerating wear on both the wood and the fasteners.
Bolt-on vs. set neck vs. neck-through: which is right for you?
| Dimension | Bolt-on | Set neck | Neck-through |
|---|---|---|---|
| Tone / attack | Snappy, percussive, clear note definition | Warm, smooth, blended attack | Very even, sustained, open |
| Sustain / resonance | Shorter decay; pocket fit is critical | Fuller, longer sustain | Maximum sustain and resonance |
| Repairability / adjustability | Excellent — removable, shimable, replaceable | Moderate — neck resets require heat and skill | Poor — structural; repairs are major surgery |
| Cost / manufacturing | Low to moderate; efficient production | Moderate to high; skilled joinery required | High; most material-intensive method |
| Upper-fret access | Limited with square heel; better with contoured designs | Good to excellent depending on cutaway | Excellent — no heel obstruction |
| Typical uses / player preference | Country, funk, pop, rock; gigging players, collectors | Jazz, blues, rock; players prioritizing sustain and warmth | Shred, fusion, progressive; players needing full fret access |
The right choice depends on what you actually do with the instrument. A session player who needs a clean, articulate tone that cuts through a busy mix will often prefer bolt-on clarity. A lead player who spends most of their time above the 12th fret and wants notes to sing will likely gravitate toward a set neck or neck-through. A vintage collector who wants to preserve and service an instrument over decades has a strong practical argument for bolt-on construction. A touring musician who loads a van three nights a week should probably own at least one bolt-on for the shock-absorption advantage alone.
How do you install a bolt-on neck correctly?
Getting the installation right the first time prevents stripped holes, misaligned necks, and tonal problems. Here’s the sequence that shop technicians follow:
- Test-fit the neck without fasteners. Slide the heel into the pocket and check for side-to-side play. The fit should be snug but not forced. Confirm the neck centerline aligns with the bridge saddles.
- Check neck angle. With strings at pitch (or simulated with a straightedge), verify the neck angle produces the correct action height at the bridge. Insert a shim now if needed — before any drilling.
- Mark pilot hole locations. Use the neck plate or existing body holes to transfer the drill points to the neck heel. A center punch prevents the bit from wandering.
- Drill pilot holes at the correct diameter. The pilot hole should be slightly smaller than the screw’s root diameter. Too small and you risk splitting the heel; too large and the screw won’t grip. For threaded inserts, follow the insert manufacturer’s specified bore diameter exactly.
- Install threaded inserts if used. Press or thread them in straight, flush with the heel surface. Misaligned inserts cause the neck to cant sideways under bolt tension.
- Bolt the neck with correct torque. Snug, not cranked. Over-tightening compresses the wood fibers and can crack the heel. The neck plate should sit flat against the body with no rocking.
- Recheck alignment and action. String the guitar, bring it to pitch, and verify centerline, action, and intonation. A small shim adjustment at this stage is far easier than re-drilling.
Pro Tip: If you’re using wood screws and the guitar will be serviced repeatedly, consider retrofitting threaded inserts. The upfront cost is minimal, and you’ll never strip the heel wood no matter how many times the neck comes off.
Maintenance, repair timelines, and what things cost in the U.S.
Bolt-on construction makes most maintenance tasks accessible to a careful DIYer, but some jobs still belong in a professional shop.
| Task | DIY-friendly? | Typical timeline | Approximate U.S. cost range |
|---|---|---|---|
| Truss rod adjustment | Yes, with caution | 15 minutes | Free (DIY) / $20–$50 at a shop |
| Full setup (action, intonation, nut) | Intermediate | 1–2 hours | moderate cost at an independent tech |
| Neck removal and reinstallation | Yes | 20 minutes | Free (DIY) / $30–$60 at a shop |
| Fret dressing / leveling | Intermediate to advanced | 2–4 hours | higher cost at a shop |
| Stripped screw hole repair (toothpick/glue method) | Yes | 30 minutes | Under $5 (DIY) |
| Threaded insert installation | Intermediate | 1–2 hours | parts cost plus moderate shop fee |
| Full neck replacement | Intermediate to advanced | 2–4 hours | $100–$400+ depending on neck and labor |
| Neck angle reset via shim | Yes | 30 minutes | Free (DIY) / $40–$80 at a shop |
Call a luthier when you’re dealing with a cracked heel, a neck that won’t align no matter how you shim it, or an instrument with collector value where a DIY mistake would cost more than the repair. For proper long-term care, humidity control and proper storage prevent most of the warping issues that lead to neck resets in the first place.
How does a bolt-on joint shape your tone in practice?
The tonal character of a bolt-on neck comes down to one word: definition. Notes start fast and decay cleanly, which is why the design dominates in genres where individual note clarity matters more than long sustain. Funk rhythm playing, country chicken-picking, pop sessions, and most rock styles all benefit from that percussive snap.
Tonal tendencies and genre notes:
- Attack: Fast, clear, and percussive. Single notes and chords articulate immediately, with no bloom or softening at the front of the note.
- Sustain: Shorter than set-neck or neck-through designs in most setups, though a tight pocket narrows that gap significantly.
- Note definition: High. Individual notes in chords stay distinct, which is why bolt-on guitars tend to record well in dense arrangements.
- Pickup interaction: Single-coil pickups amplify the bolt-on’s natural clarity and snap. Humbuckers on a bolt-on body add warmth without losing the attack character.
- Wood interaction: Ash bodies push the high-end snap further; alder softens it slightly and adds midrange presence. Maple necks reinforce brightness and note definition throughout.
- Recording considerations: The percussive attack sits well in a mix without needing heavy EQ. In a dense track, bolt-on guitars tend to cut through naturally rather than competing with other midrange instruments.
- Live use: The clear attack translates well in loud stage environments where sustain-heavy tones can wash out.
Setup affects perceived sustain more than most players realize. A properly cut nut, correct saddle height, and fresh strings can add noticeable sustain to a bolt-on guitar that felt “dead” before the setup. Don’t blame the joint until the setup is dialed in.
What should you check before buying a bolt-on guitar?
Whether you’re in a shop or at a private sale, these checks take about ten minutes and can save you from buying someone else’s problem.
Pocket and fit:
- Grip the neck and try to wiggle it side-to-side. Zero play is correct. Any movement means the pocket is oversized or the screws are loose.
- Look at the neck-to-body seam from the front. The gap should be uniform and tight on both sides.
Hardware condition:
- Check screw heads for cam-out damage (chewed slots). Damaged screws suggest repeated removal with the wrong tool.
- Confirm all screws are the same type and size. Mixed hardware is a sign of a previous repair.
- Inspect the neck plate for bending or corrosion. A bent plate means the screws were over-tightened at some point.
Neck angle and action:
- Sight down the neck from the headstock. The fretboard should have a slight relief (a gentle forward bow), not a back-bow or a ski-jump at the upper frets.
- Check action at the 12th fret. High action that can’t be corrected at the saddle often points to a neck angle problem.
Truss rod access:
- Confirm the truss rod nut is accessible and turns freely. A frozen truss rod is a significant repair.
Shim check:
- Ask the seller if the neck has been shimmed. A shim isn’t a problem if it’s correctly fitted, but an improvised shim (a folded business card, a piece of pick material) signals a quick fix rather than a proper setup.
Quick play test:
- Play chords up and down the neck. Buzzing that appears only above the 12th fret often points to a high fret or a neck angle issue, not a truss rod problem.
- Play a sustained note on the 12th fret. A dead or choked note there can indicate a loose pocket killing sustain.
For a deeper evaluation framework, Vintage-guitar-world’s guitar appraisal checklist covers these points and more in a structured format.
Common myths about bolt-on necks, debunked
“Bolt-ons are cheap guitars.”
Construction method and price are separate variables. Plenty of high-end, professional-grade instruments use bolt-on necks. The design choice is about serviceability and tonal character, not budget.
“Bolt-on necks always have less sustain.”
A tight pocket with correct fasteners can produce sustain comparable to a set neck. The joint fit matters far more than the joint type. A sloppy pocket on any design kills sustain.
“The term ‘bolt-on’ means the neck is literally bolted on.”
Many instruments described as bolt-on actually use wood screws, not bolts. Conversely, some use machine bolts with threaded inserts. The term is a category label, not a precise hardware description.
“Shimming a neck is a hack.”
Shimming is a standard, shop-approved technique documented in professional repair manuals. A correctly fitted shim is a legitimate and reversible adjustment.
“Bolt-on necks come loose over time.”
They can, but only if the screws aren’t checked periodically or if the wood has been damaged. A well-maintained bolt-on joint stays tight for decades.
“Set necks are always better for tone.”
Tonal preference is genre and player-specific. Many professional players actively prefer the bolt-on’s clarity and attack for the music they make.
Why bolt-on construction matters for vintage instruments and collectors
For a vintage instrument, the ability to remove the neck without heat or solvents is not a convenience — it’s a preservation tool. A luthier can inspect the neck pocket, check the heel for cracks, clean the joint, and reinstall the neck without touching the original lacquer. That matters enormously when the finish condition is a primary driver of collector value.
From an appraisal standpoint, documented service history on a bolt-on guitar is easier to verify than on a set-neck instrument. Original screws, an undisturbed neck plate, and a clean pocket with no signs of shimming or re-drilling all signal that the instrument hasn’t been through a major repair. Conversely, replaced hardware, mismatched screws, or evidence of multiple neck removals should prompt questions about the instrument’s history. Professional appraisal records and documented resets materially affect resale value and provide trust signals for buyers and insurers.
When evaluating a vintage bolt-on for purchase, check whether the screws are original to the instrument’s production period. A guitar from the 1960s with Phillips-head screws where slotted screws should be has been opened at some point. That’s not automatically a dealbreaker, but it’s a data point. Vintage-guitar-world’s expert valuation guidance covers how original hardware and documented repairs factor into pricing and certification.
Key Takeaways
A bolt-on neck’s primary advantage is serviceability: the joint can be removed, adjusted, shimmed, and replaced without damaging the instrument’s body or finish.
| Point | Details |
|---|---|
| Definition | A bolt-on neck attaches to the body with screws or machine bolts, not glue or integrated construction. |
| Main advantages | Removable, shimable, and replaceable; lower cost; shock-absorbing mechanical joint for gigging players. |
| Main trade-offs | Snappier attack with shorter sustain than set-neck designs; square heel limits upper-fret access on traditional builds. |
| Fit is everything | A tight neck pocket closes the tonal gap between bolt-on and set-neck designs; a sloppy pocket undermines both tone and stability. |
| Buying check | Inspect pocket fit, screw condition, neck angle, and truss rod access before purchasing any bolt-on guitar. |
| Vintage-guitar-world | Offers professional appraisal, testing appointments, and certified listings for well-evaluated bolt-on and vintage instruments. |
The case for bolt-on construction in a collector’s world
The conventional wisdom positions bolt-on necks as the practical, workmanlike choice and set necks as the premium option. That framing misses something. In the vintage and collector market, serviceability isn’t a compromise — it’s a feature that compounds in value over time. An instrument that can be inspected, documented, and restored without destructive intervention is an instrument whose provenance stays intact. That’s worth more to a serious collector than a marginally warmer tone.
What people underestimate about bolt-on construction is how much the joint’s reputation has been shaped by poorly executed examples rather than the design itself. A neck pocket routed to tight tolerances, fitted with quality threaded inserts, and assembled by someone who knows the correct pilot-hole diameter performs at a level that would surprise players who’ve only handled budget bolt-on instruments. The design isn’t the limitation. The execution is.
For collectors specifically: original hardware is a documentation trail. The screws, the neck plate, even the shim material tell a story about how an instrument was maintained. Replacing any of it without documentation is a small erasure of that history. Treat the hardware as part of the instrument’s record, not just its assembly.
Vintage-guitar-world: professional testing, appraisal, and curated bolt-on instruments
Knowing what to look for in a bolt-on guitar is one thing. Having a specialist confirm it before you spend serious money is another.

Vintage-guitar-world offers hands-on guitar testing appointments, professional valuation, and certified sales for vintage and handcrafted instruments. Every guitar in the curated inventory has been evaluated for neck pocket fit, hardware originality, structural integrity, and playability — the exact checks this guide covers. For collectors who want documentation alongside their instrument, the certification service provides a verified service record that supports both insurance and resale. Browse the full range of curated vintage guitars or book a testing appointment to play an instrument before committing.
Authoritative sources and further reading
For players and collectors who want to go deeper on bolt-on construction, setup, and appraisal:
- Bolt-on neck overview — Wikipedia’s entry on bolt-on neck construction, covering terminology, history, and tonal characteristics. A useful general overview.
- Determining the value of guitars: expert advice for collectors — Vintage-guitar-world’s guide to appraisal factors including original hardware, documented repairs, and provenance. Directly relevant for anyone buying or selling a vintage bolt-on instrument.
- Guitar Appraisal Checklist — Vintage-guitar-world’s structured evaluation checklist for collectors and buyers. A practical companion to the buying checklist in this guide.