












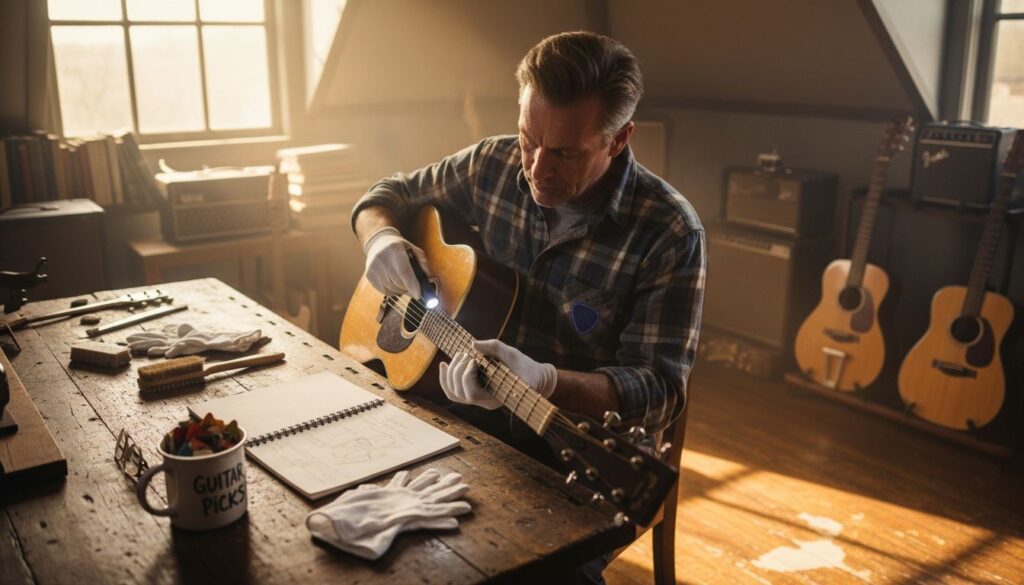

Restoring a vintage acoustic guitar captures both challenge and reward for passionate collectors striving to protect each instrument’s legacy. Before any real transformation can begin, a thorough evaluation and the right tools set the foundation for success. By focusing on a detailed assessment of the guitar’s condition and systematic documentation, you lay the groundwork for precise, respectful restoration that maximizes value while honoring the guitar’s original character.
Table of Contents
- Step 1: Assess Instrument Condition And Gather Restoration Tools
- Step 2: Clean And Stabilize Guitar Body And Components
- Step 3: Repair Structural Damage And Restore Playability
- Step 4: Refinish Surface And Restore Original Appearance
- Step 5: Test Sound Quality And Inspect Final Results
Quick Summary
| Main Takeaway | Explanation |
|---|---|
| 1. Thoroughly Assess Guitar | Evaluate body integrity, neck alignment, and hardware to inform restoration steps. |
| 2. Clean with Care | Use soft, pH-neutral cleaners and microfiber cloths to avoid damage while cleaning. |
| 3. Make Precise Repairs | Focus on incremental adjustments and document each repair to maintain structural integrity. |
| 4. Refinish Mindfully | Apply thin layers of varnish to enhance appearance without compromising original finish. |
| 5. Test Sound Thoroughly | Restring and tune the guitar, critically listening for any issues to ensure playability. |
Step 1: Assess Instrument Condition and Gather Restoration Tools
Restoring a vintage acoustic guitar begins with a comprehensive assessment of the instrument’s condition and strategic tool preparation. This critical first step determines the complexity and approach of your restoration project.
Begin by conducting a meticulous visual and tactile examination of the guitar. Detailed instrument restoration requires systematic evaluation, focusing on several key areas:
- Body Integrity: Check for visible cracks, scratches, or structural damage
- Neck Alignment: Verify neck straightness and potential warping
- Fretboard Condition: Inspect fret wear and potential fingerboard issues
- Hardware Assessment: Examine tuning mechanisms, bridge, and other metal components
Documenting your findings becomes crucial for developing a targeted restoration strategy. Use high-resolution photographs and detailed written notes to track each observed issue, creating a comprehensive repair roadmap.
Next, assemble a comprehensive toolkit tailored to acoustic guitar restoration. Essential tools include:
- Precision screwdrivers
- Wood glue
- Fine-grit sandpaper
- Cleaning microfiber cloths
- Replacement hardware components
- Protective work gloves
- Magnifying lens for detailed inspection
Systematic documentation transforms a potentially overwhelming restoration process into a manageable, step-by-step approach.
Pro tip: Always photograph the guitar from multiple angles before beginning any restoration work to maintain a visual record of its original condition.
Step 2: Clean and Stabilize Guitar Body and Components
Cleaning and stabilizing a vintage acoustic guitar requires precision, patience, and the right techniques to preserve its structural integrity and aesthetic beauty. This crucial step transforms a weathered instrument into a pristine collectible piece.
Careful cleaning and wood treatment involves a systematic approach to removing dirt and addressing potential structural issues. Begin by gathering soft microfiber cloths, specialized wood cleaners, and gentle cleaning solutions designed for vintage instruments.
Key cleaning procedures include:
- Body Surface: Gently wipe down with microfiber cloth
- Wood Cleaning: Use pH-neutral wood cleaner
- Crack Repair: Apply wood glue for small structural breaks
- Surface Preparation: Sand lightly to smooth imperfections
Approach hardware components with extra caution. Carefully remove tuning pegs, bridge, and other metal parts for individual cleaning. Use soft brushes and specialized metal polish to restore their original shine without causing scratches.
Gentle, methodical cleaning prevents unintended damage and preserves the guitar’s historical value.
Pay special attention to the wood’s finish. Different vintage guitars require unique cleaning approaches based on their original varnish or lacquer type. Always test cleaning solutions on a small, inconspicuous area first to ensure compatibility.
Pro tip: Work in a well-lit, clean workspace and use cotton gloves to prevent oils from your skin transferring to the instrument during the restoration process.
Step 3: Repair Structural Damage and Restore Playability
Restoring a vintage acoustic guitar’s structural integrity and playability requires precise technical skills and a deep understanding of instrument mechanics. This critical phase transforms a damaged instrument into a fully functional musical masterpiece.
Professional repair techniques involve a systematic approach to addressing complex structural challenges. The repair process begins with a comprehensive evaluation of the guitar’s specific damage, mapping out a tailored restoration strategy.
Key structural repair procedures include:
- Crack Restoration: Carefully apply wood glue and clamp breaks
- Neck Alignment: Adjust truss rod to correct neck relief
- Fret Maintenance: Level, crown, or replace worn frets
- Hardware Stabilization: Tighten or replace loose components
Specific repair techniques demand surgical precision. When addressing neck issues, use a straight edge to check alignment and make incremental adjustments to the truss rod. This prevents overcorrection and potential structural damage.
Methodical, patient repairs are the difference between preservation and destruction.
Pay close attention to the guitar’s unique characteristics. Structural repair methods vary depending on the instrument’s age, wood type, and previous modifications. Document each repair step, ensuring you maintain the guitar’s original integrity.
Each adjustment should be minimal and carefully considered, prioritizing the instrument’s structural stability and original design. Avoid aggressive interventions that could compromise the guitar’s historical value.
Pro tip: Invest in high-quality specialized tools and take detailed photographs before and after each repair to track your restoration progress and maintain a comprehensive record.
Step 4: Refinish Surface and Restore Original Appearance
Refinishing a vintage acoustic guitar demands exceptional skill and meticulous attention to detail, transforming a worn instrument into a stunning collector’s piece that honors its original aesthetic and historical significance.
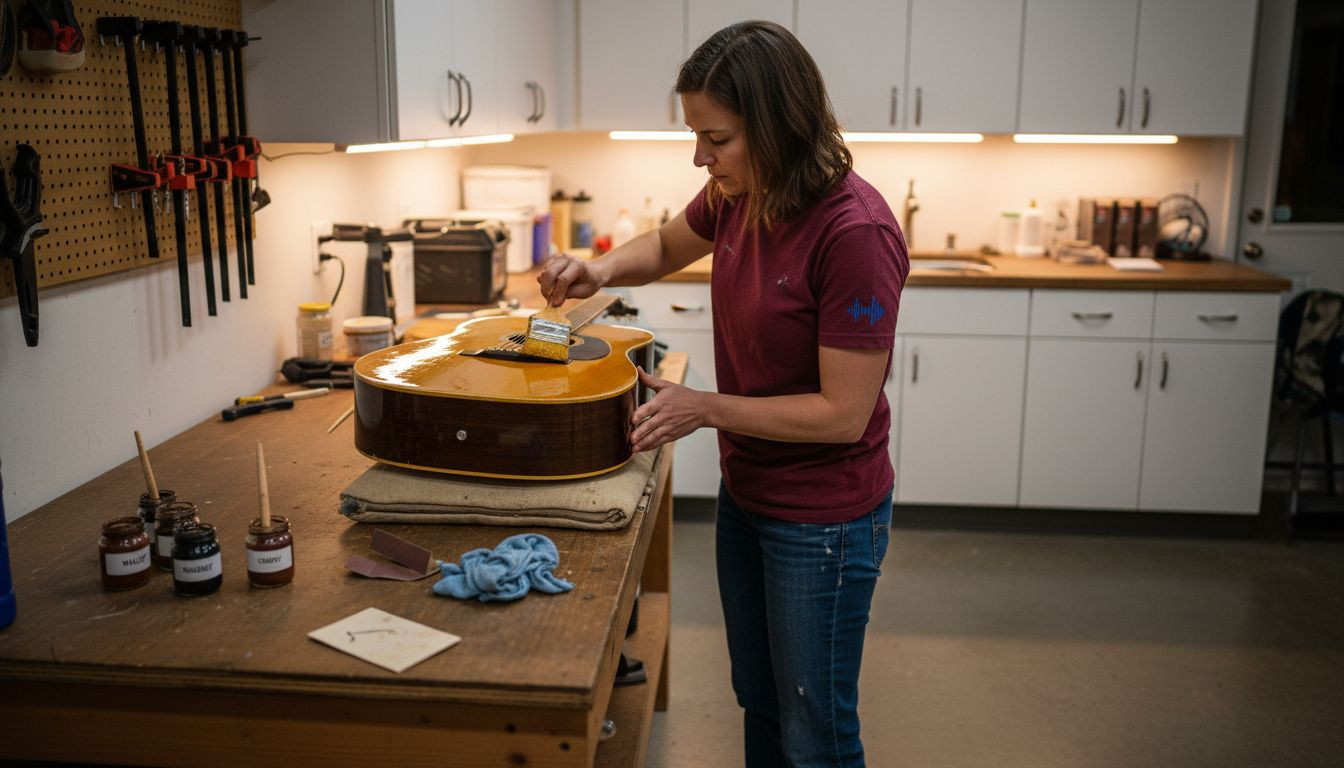
Guitar surface restoration requires a systematic approach that preserves the instrument’s unique character while addressing surface imperfections. The goal is to enhance the guitar’s appearance without compromising its vintage integrity.
Key refinishing steps include:
- Surface Preparation: Carefully sand existing finish
- Damage Assessment: Identify and treat scratches and dents
- Color Matching: Select stains matching original finish
- Layer Application: Apply thin, even varnish coats
- Polishing: Buff to restore original shine
Each refinishing stage demands precision and patience. Vintage restoration techniques emphasize preserving the guitar’s unique patina and historical character. Use fine-grit sandpaper for smoothing surfaces, working gradually to avoid removing too much original material.
Thoughtful restoration transforms damage into character, not erasure.
Choose high-quality materials that complement the guitar’s original finish. Test stains and varnishes on inconspicuous areas first to ensure color and texture consistency. Multiple thin layers provide better results than a single thick application.
Pro tip: Work in a dust-free environment with consistent temperature and humidity to ensure smooth, professional-grade refinishing results.
Step 5: Test Sound Quality and Inspect Final Results
The final stage of guitar restoration is a critical moment of truth where your meticulous work is evaluated through comprehensive sound testing and visual inspection. This phase transforms technical repairs into a living, breathing musical instrument.
Guitar restoration evaluation requires a systematic and patient approach to ensure every aspect of the instrument meets professional standards. Restringing and precise tuning set the foundation for comprehensive sound assessment.
Key testing procedures include:
- String Setup: Install new high-quality strings
- Tuning Calibration: Ensure perfect pitch across all strings
- Action Assessment: Check string height and neck alignment
- Intonation Verification: Test pitch accuracy along the fretboard
- Sound Quality Evaluation: Listen for tone clarity and resonance
Carefully play each string across different frets, listening critically for any unexpected buzzing, dead spots, or tonal inconsistencies. Use both fingerpicking and strumming techniques to thoroughly evaluate the guitar’s sonic characteristics.
Patience and critical listening transform a restored guitar from a project into a musical treasure.
Document your findings meticulously. Compare the guitar’s current sound and playability with your initial assessment, noting improvements and any remaining areas that might require further adjustment.
Pro tip: Record audio samples during your testing to create a before-and-after benchmark and objectively assess the restoration’s impact on the instrument’s sound quality.
Use this reference to understand common challenges for each repair phase:
| Restoration Phase | Frequent Challenges | Professional Tip |
|---|---|---|
| Initial Assessment | Hidden cracks, worn frets | Photograph all areas for documentation |
| Cleaning & Stabilizing | Finish sensitivity, small cracks | Always test cleaners on hidden spots |
| Structural Repairs | Truss rod tension, loose hardware | Make incremental, careful adjustments |
| Refinishing | Matching original color | Apply multiple thin coats |
| Final Testing | Buzzing, intonation issues | Use audio samples for comparison |
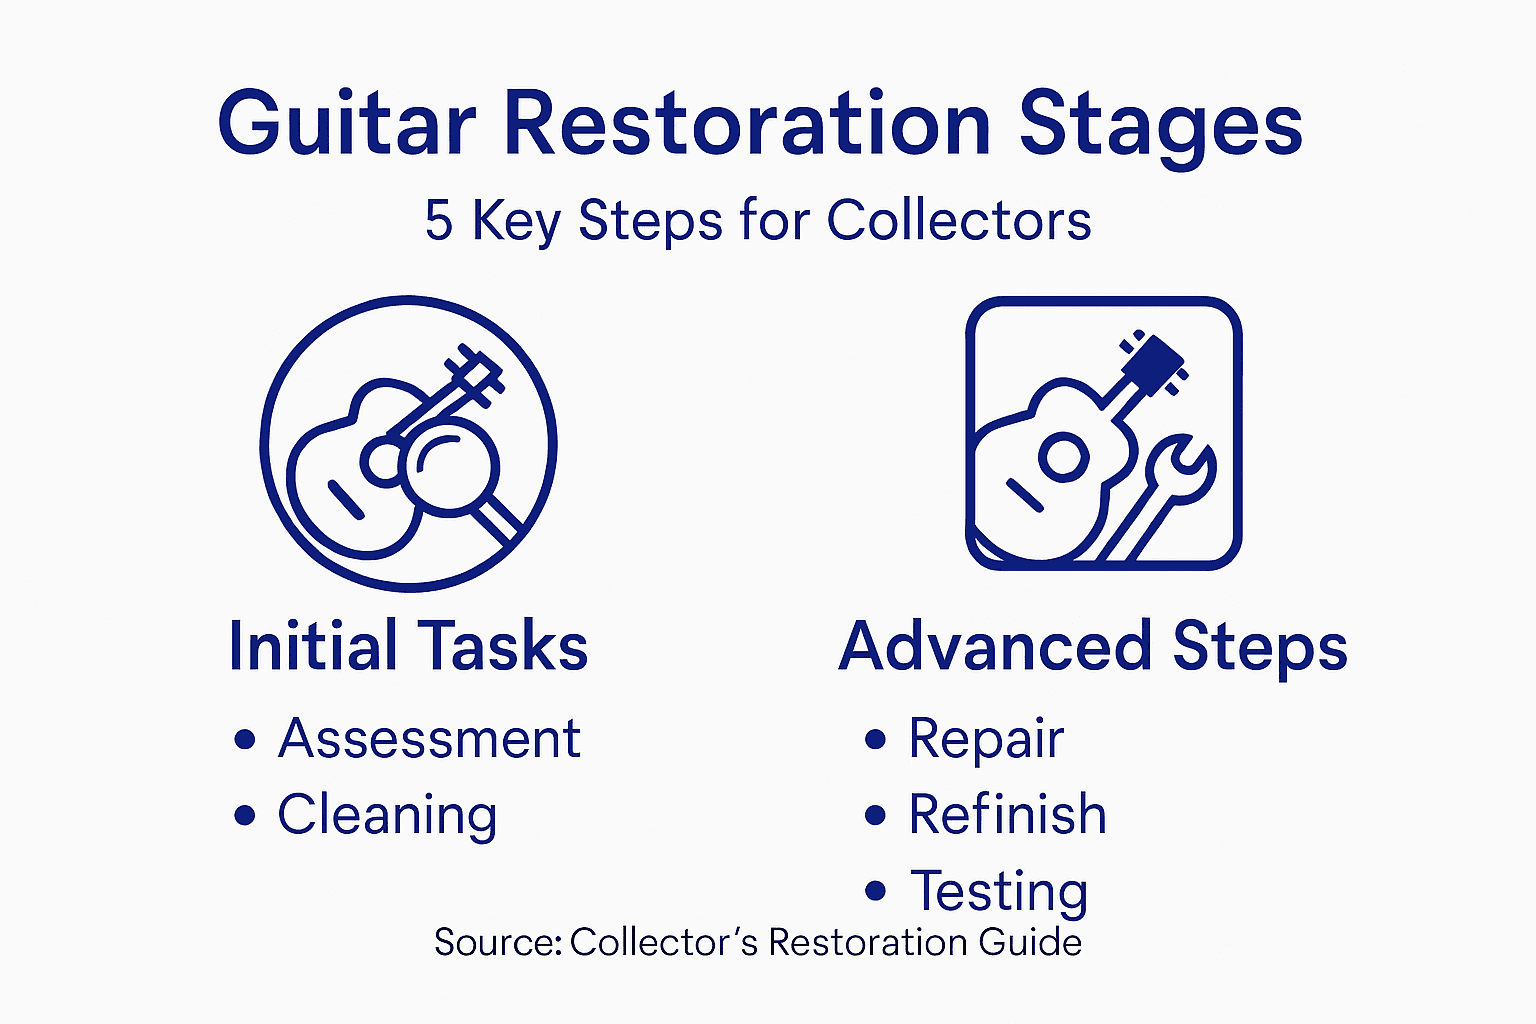
Here is a summary of how each restoration phase contributes to returning a vintage guitar to prime condition:
| Restoration Step | Main Objective | Skills Needed | Impact on Guitar Value |
|---|---|---|---|
| Assessment & Tools | Diagnose and plan repairs | Observation, planning | Prevents further damage |
| Cleaning & Stabilizing | Remove grime, treat wood | Patience, attention | Preserves appearance & wood |
| Structural Repairs | Fix playability, stability | Precision, mechanics | Restores function & sound |
| Refinishing | Rejuvenate aged surfaces | Detailing, matching | Enhances visual appeal |
| Final Testing | Confirm acoustics, playabilty | Musical ear, testing | Ensures market readiness |
Bring Your Vintage Acoustic Guitar Restoration to Life with Expert Tools and Premium Instruments
Restoring a vintage acoustic guitar is a detailed journey that demands patience, precision, and the right support. If you have faced challenges like assessing hidden cracks, stabilizing delicate wood finishes, or restoring playability while preserving authenticity, you are not alone. The meticulous processes outlined in the guide—from cleaning and structural repairs to refinishing and sound testing—are critical steps that require quality tools and materials crafted for vintage guitars. Whether you seek specialized replacement parts or want to explore rare, professionally restored instruments, the right resources can make all the difference in honoring your guitar’s heritage and sonic beauty.

Discover a carefully curated collection of vintage and handcrafted guitars at Vintage Guitar World shop. Each instrument comes with expert evaluation and detailed historical context, designed to inspire your restoration projects or become a treasured addition to your collection. Act now to access premium-grade guitars and trusted restoration supplies that elevate your craftsmanship and preserve the timeless character of your vintage acoustic guitar. Start browsing our exclusive selection today at Vintage Guitar World and take the next step toward mastering restoration with confidence and skill.
Frequently Asked Questions
What initial assessment should I perform when restoring a vintage acoustic guitar?
Begin with a meticulous visual and tactile examination of the guitar. Check for body integrity, neck alignment, fretboard condition, and hardware assessment to identify any structural issues that require attention.
What tools are essential for acoustic guitar restoration?
Assemble a comprehensive toolkit including precision screwdrivers, wood glue, fine-grit sandpaper, cleaning microfiber cloths, and replacement hardware components. Each tool plays a specific role in ensuring proper restoration without risking damage.
How can I effectively clean and stabilize an acoustic guitar?
Use soft microfiber cloths and pH-neutral wood cleaners to gently remove dirt from the body and wood surfaces. Pay special attention to hardware components, ensuring a thorough cleaning to preserve the guitar’s structural integrity and original appeal.
What are the key steps to repair structural damage on a vintage guitar?
Focus on crack restoration by applying wood glue carefully and clamping breaks, adjusting the truss rod for neck alignment, and performing fret maintenance. Use a straight edge to ensure proper neck alignment, making gradual adjustments to avoid overcorrection.
How do I refinish the surface of a vintage acoustic guitar?
Start by sanding the existing finish and assessing any damage like scratches or dents. Apply thin, even coatings of varnish, taking special care to match the original color while maintaining the guitar’s unique character.
What should I do during the final sound quality testing of a restored guitar?
Install new high-quality strings, ensure proper tuning calibration, and check action and intonation along the fretboard. Carefully listen for tonal clarity and make additional adjustments if necessary to enhance playability.
Recommended
- Restoring vintage acoustic guitars: Step-by-step success
- Acoustic vs Electric Vintage Guitars: Tonal Heritage Unveiled
- What Makes Guitars Collectible: Value, Rarity, and Legacy
- How to Value Collectible Guitars for Accurate Market Pricing
- Finger Gripper Flex Gripster: Ultimate Guitar Hand Exerciser – Real Healthy Haven