












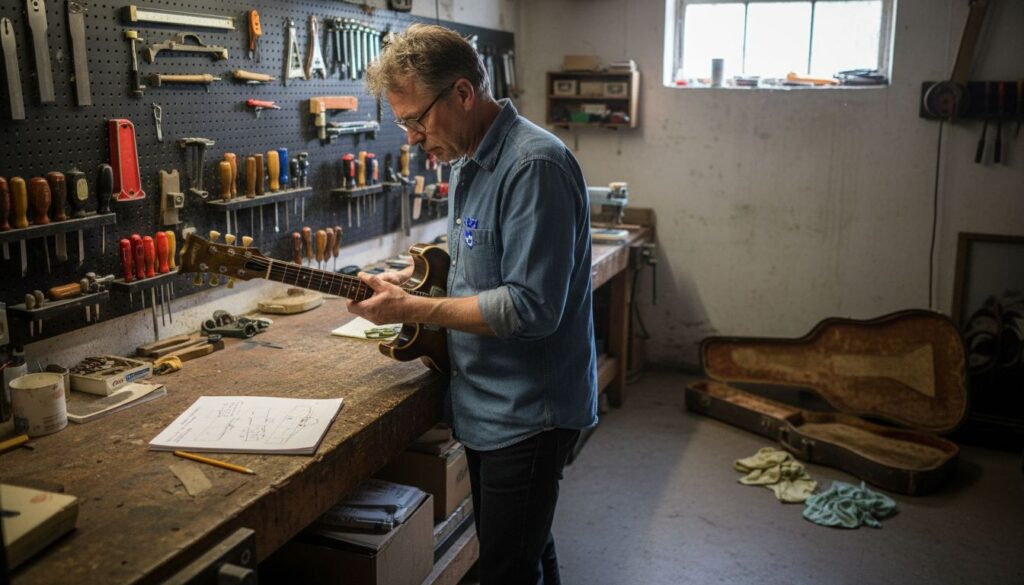

Vintage guitar restoration guide for authentic preservation
Restoring a vintage guitar can feel like walking a tightrope. You want to bring your rare instrument back to life, but the fear of causing irreversible damage looms large. Amateur restoration attempts fail in over 60% of cases, often destroying both historical value and playability. This guide delivers expert techniques that protect authenticity while enhancing your vintage guitar’s performance, giving you the confidence to restore safely and effectively.
Table of Contents
- Prerequisites: Tools, Knowledge, And Preparation
- Assessment And Documentation Before Restoration
- Safe Cleaning Techniques To Preserve Vintage Finishes
- Neck, Fret, Hardware, And Electronics Repairs
- Common Mistakes, Failure Points, And How To Avoid Them
- Expected Timelines, Costs, And Outcome Benchmarks
- Safety Considerations During Restoration
- Summary And Next Steps For Vintage Guitar Enthusiasts
- Explore Expert Resources And Vintage Guitar Tools
- Frequently Asked Questions About Vintage Guitar Restoration
Key takeaways
| Point | Details |
|---|---|
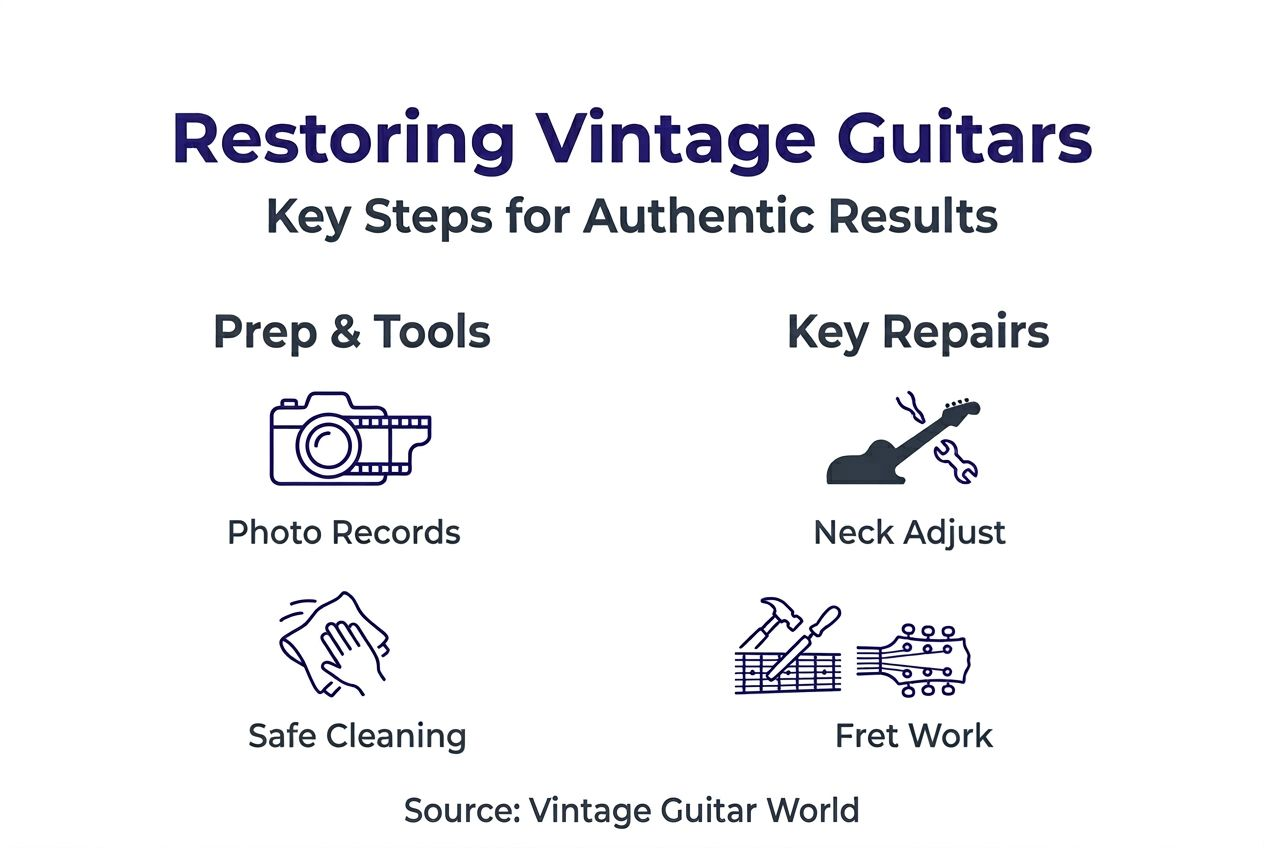
| Document everything before starting | Photograph all damage, serial numbers, and hardware to create a baseline record that prevents costly mistakes. |
| Use vintage-safe cleaning methods | Apply specialized polish and microfiber cloths to protect delicate nitrocellulose finishes without stripping original patina. |
| Prioritize structural repairs carefully | Adjust truss rods and level frets to improve playability while preserving original components whenever possible. |
| Avoid common DIY pitfalls | Skip aggressive refinishing, modern hardware swaps, and abrasive materials that permanently reduce collectible value. |
| Set up a safe workspace | Ensure proper ventilation, protective gear, and organized tools to prevent health risks and instrument damage. |
Prerequisites: Tools, knowledge, and preparation
Before touching your vintage guitar, gather the right equipment and knowledge. Rushing in without preparation accounts for most restoration failures.
You’ll need precision screwdrivers in multiple sizes, soft microfiber cloths, vintage-safe wood glue, fine-grit sandpaper (320 to 600 grit), and a magnifying lens for detailed inspection. Add a digital caliper for measuring fret height, quality guitar polish formulated for nitrocellulose finishes, and non-abrasive cleaning solutions. A truss rod wrench specific to your guitar model, quality fret files, and replacement parts like saddles or nut blanks round out the essentials.
Knowledge matters as much as tools. Understanding vintage finishes prevents disasters. Nitrocellulose lacquer, common on guitars from the 1950s through 1970s, reacts badly to modern chemicals and heat. Learn your guitar’s structural elements: how the neck joins the body, where the truss rod adjusts, and how electronics connect. Study the acoustic guitar restoration guide to grasp repair fundamentals before starting work.
Your workspace needs proper ventilation, bright lighting, and a clean surface. Chemical fumes from cleaners and adhesives require air circulation. Wear protective gloves when handling solvents, a dust mask during sanding, and safety goggles when working with sharp tools or chemicals. Keep first aid supplies accessible.
Pro Tip: Set clear restoration goals before starting. Decide whether you’re prioritizing museum-quality preservation or enhanced playability, as this choice guides every repair decision you make.
Prepare documentation tools including a camera with macro capability, notebook for detailed observations, and measuring tools for tracking changes. This preparation phase separates successful restorations from expensive mistakes.
| Tool Category | Specific Items | Purpose |
|---|---|---|
| Hand Tools | Precision screwdrivers, truss rod wrench, fret files | Structural adjustments and repairs |
| Cleaning Supplies | Microfiber cloths, vintage-safe polish, non-abrasive solutions | Finish preservation and cleaning |
| Measurement Tools | Digital caliper, magnifying lens, straightedge | Precision assessment and setup |
| Safety Equipment | Gloves, dust mask, safety goggles, ventilation fan | Personal protection during work |
| Documentation | Camera, notebook, measuring tape | Recording condition and progress |
Assessment and documentation before restoration
Thorough documentation of every crack, dent, and hardware issue prevents costly mistakes and preserves value. Start by photographing your guitar from every angle under good lighting.
- Capture the entire guitar front, back, and sides in high resolution.
- Photograph all damage in close-up: cracks in the finish, dents in the wood, corrosion on hardware, and wear patterns on frets.
- Document serial numbers, maker stamps, and any original labels or signatures inside the body.
- Record hardware condition including tuning machines, bridge saddles, pickguard screws, and electronic components.
- Note the neck angle and alignment by sighting down the neck from the headstock.
- Check fret wear using a straightedge and measuring actual fret height at multiple positions.
- Test all electronics if applicable, recording which pickups, switches, and controls function properly.
- Measure string action at the 12th fret and nut height to establish baseline playability.
- Document finish condition noting areas of checking, crazing, or wear through to bare wood.
- Create written notes describing smells, sounds when tapped, and overall structural integrity.
This systematic approach creates a detailed baseline. When evaluating used guitars, you gain insight into original condition versus previous repairs. Your documentation helps determine if cracks existed before you started or appeared during restoration.
Define your restoration goals clearly. Are you preserving a museum piece where every scratch tells a story? Or enhancing a player’s instrument where functionality matters most? This decision impacts every choice ahead. Checking vintage guitar authenticity helps verify whether aggressive restoration might damage collectible value.
Safe cleaning techniques to preserve vintage finishes
Using vintage-specific polish and microfiber cloths preserves delicate nitrocellulose lacquer finishes without damage. Modern all-purpose cleaners contain silicones and harsh solvents that attack old finishes.
Start with the gentlest approach. Wipe dust and surface grime using a barely damp microfiber cloth, then dry immediately with a separate clean cloth. For stubborn dirt, apply a small amount of vintage-safe guitar polish to the cloth, never directly on the finish. Work in small sections, rubbing gently in circular motions.
- Test any cleaning product on an inconspicuous area first, like inside the control cavity or under the pickguard.
- Avoid abrasive pads like Scotch-Brite or rough paper towels that scratch finishes permanently.
- Use separate cloths for the body, neck, and hardware to prevent cross-contamination.
- Clean metal hardware with non-corrosive agents specifically formulated for vintage instruments.
- Preserve original patina on hardware rather than polishing to bright shine, which reduces authenticity.
- Never use household cleaners, window sprays, or furniture polish on vintage guitars.
- Allow finishes to dry completely between cleaning sessions to prevent moisture damage.
When cleaning the fretboard, remove old strings first. Apply a small amount of lemon oil or specialized fretboard conditioner to unfinished rosewood or ebony, wiping excess immediately. Maple fretboards often have finish and need only gentle wiping with a damp cloth.
Pro Tip: Original finish checking and crazing add character and value to vintage guitars. Don’t attempt to fill or repair these cosmetic age marks unless they threaten structural integrity.
The restoration guide for collectors emphasizes patience during cleaning. Multiple gentle sessions work better than one aggressive scrubbing that strips finish or removes original color.
Neck, fret, hardware, and electronics repairs
Adjusting the guitar neck truss rod and performing fret leveling significantly improve vintage guitar playability. These structural repairs require precision and patience.
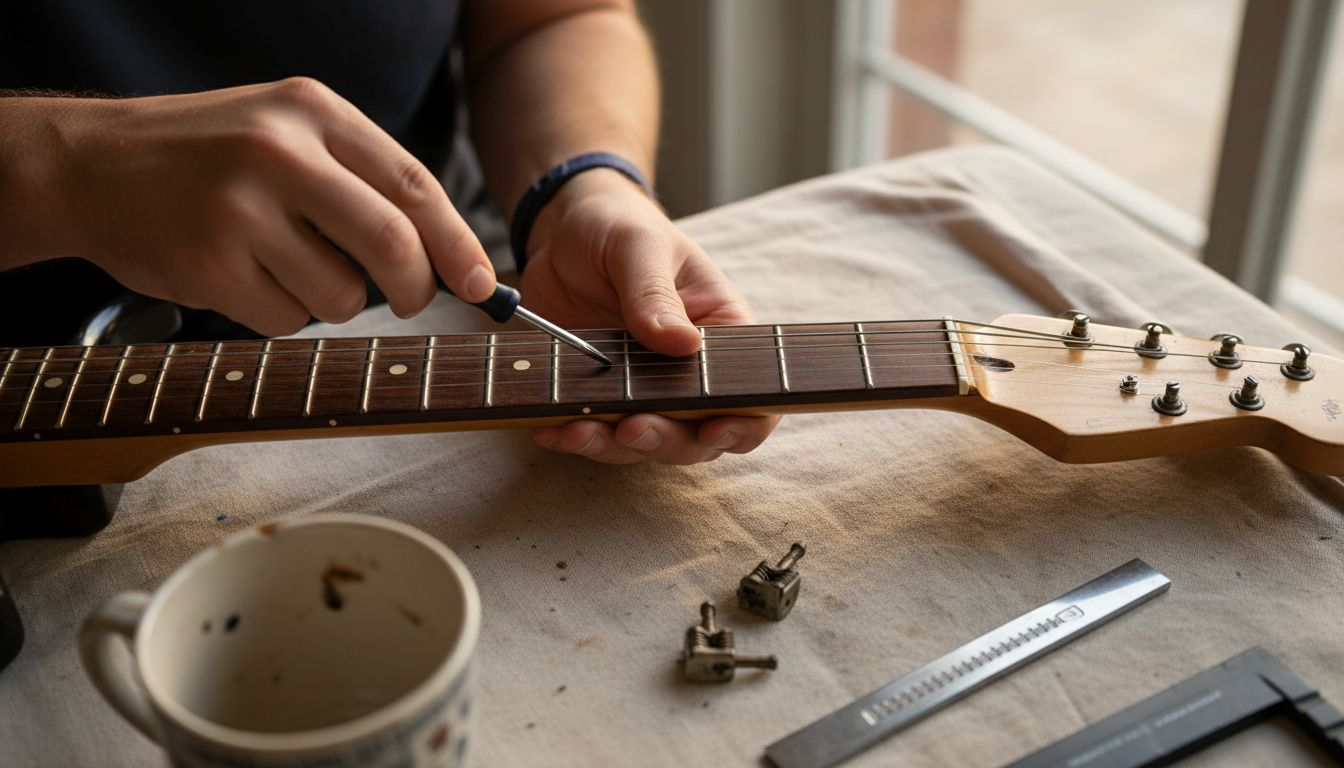
Neck adjustment begins with measuring relief. Place a capo at the first fret and press the string at the last fret. The gap at the 8th fret should measure about 0.010 inches. If the neck bows too much, tighten the truss rod a quarter turn clockwise. Too straight or back-bowed? Loosen counterclockwise. Wait 24 hours between adjustments for the wood to settle.
Fret leveling eliminates buzzing and dead spots. Use a specialized leveling beam with sandpaper to gently remove high spots, marking fret tops with a marker to track progress. When all frets show flat contact, re-crown each fret with a crowning file to restore the rounded playing surface. Polish frets with progressively finer abrasives finishing at 2000 grit.
- Check tuning machine function before replacing, as vintage tuners often just need cleaning and lubrication.
- Replace only deteriorated plastic tuner buttons while keeping original mechanisms whenever possible.
- Adjust saddle height and nut slots for optimal string action without replacing original parts unnecessarily.
- Test pickup output and tone controls, resoldering cold joints before rewiring entirely.
- Clean potentiometer contacts with electronic cleaner to restore smooth control operation.
- Preserve original wiring and components even if they show age, as replacement reduces value significantly.
Pro Tip: When evaluating used guitars for restoration potential, note whether electronics hum or crackle versus complete failure, as minor issues fix easily while major rewiring impacts authenticity.
The restoration guide for collectors emphasizes minimal intervention. Replace components only when repair proves impossible.
| Repair Type | Minimal Approach | Full Replacement | Value Impact |
|---|---|---|---|
| Tuning machines | Clean and lubricate originals | Install modern replicas | Original: preserves value; Replacement: reduces 15-25% |
| Electronics | Resolder connections, clean pots | Complete rewiring | Original wiring adds significant collector value |
| Frets | Level and crown existing | Full refret with modern wire | Original frets preferred unless severely worn |
| Nut and saddle | Adjust and refit original | Replace with bone or synthetic | Period-correct materials maintain authenticity |
Common mistakes, failure points, and how to avoid them
Improper assessment leads to restoration projects causing more damage than benefits in 60% of amateur attempts. Understanding these pitfalls protects your investment.
Refinishing represents the biggest mistake. Stripping and reapplying finish destroys originality and tanks collectible value by 40 to 70 percent. Even professional refinishing can’t recreate the aging characteristics that make vintage finishes valuable. Unless the finish presents structural problems like widespread flaking or wood exposure, leave it alone.
- Never attempt neck resets without professional training, as incorrect angles ruin playability permanently.
- Avoid using modern epoxy adhesives on vintage instruments, as they prevent future repairs and chemical reactions can damage old wood.
- Skip aggressive buffing compounds that cut through thin vintage finishes in seconds.
- Don’t replace original hardware with modern reproductions just for aesthetic improvement.
- Resist the urge to “improve” wiring with modern capacitors and pots that reduce authenticity.
- Never use steel wool near pickups, as metal particles cause electronic interference and damage.
- Avoid forcing stuck tuning machines or bridge pins, which breaks fragile vintage components.
Maintaining original patina matters more than achieving showroom shine. Tarnished hardware, worn binding, and finish checking tell the guitar’s story. Collectors value these signs of authentic age. The restoration guide for collectors stresses preservation over perfection.
When structural repairs exceed your skill level, seek professional help. Complex procedures like neck resets, bridge regluing, or crack repairs require specialized jigs, precise measurements, and years of experience. Attempting these repairs yourself often creates unfixable damage.
Expected timelines, costs, and outcome benchmarks
Typical restoration timelines for vintage guitars span 2-3 months including assessment, cleaning, repair, and setup. Rushing produces poor results and potential damage.
Initial assessment and documentation require one to two weeks as you photograph, measure, and research your specific guitar model. Cleaning takes another week, allowing finishes to dry between sessions. Structural repairs like fret work and setup span two to four weeks, factoring in adjustment settling time. Electronics troubleshooting and repair add one to two weeks depending on complexity.
Costs vary based on condition and repair scope. Budget $500 to $800 for basic restoration involving cleaning, setup, and minor repairs. Moderate projects requiring fret leveling, electronics work, and hardware restoration run $800 to $1,200. Extensive restorations needing crack repairs, binding replacement, or neck work exceed $1,500 easily.
| Project Scope | Timeline | Cost Range | Typical Work Included |
|---|---|---|---|
| Basic restoration | 4-6 weeks | $500-$800 | Cleaning, setup, minor hardware repair |
| Moderate restoration | 8-10 weeks | $800-$1,200 | Fret leveling, electronics repair, binding touch-up |
| Extensive restoration | 10-16 weeks | $1,500-$3,000+ | Crack repair, neck reset, bridge work |
Success benchmarks include improved playability without structural compromises, preserved original finish and patina, functional electronics maintaining period-correct tone, and documented condition proving value retention. Your guitar should play comfortably while retaining all authentic characteristics collectors value.
Maintain detailed records showing before and after photos, work performed, materials used, and time invested. This documentation proves restoration quality when valuing collectible guitars for insurance or resale.
Safety considerations during restoration
Health risks from chemical products used in refinishing require gloves, masks, goggles, and proper ventilation. Even gentle restoration work poses hazards without proper precautions.
Chemical exposure presents the primary risk. Guitar polishes, cleaning solvents, and wood treatments release fumes that irritate lungs and skin. Always work in well-ventilated spaces with windows open or fans running. Wear nitrile gloves when handling any liquid products, as skin absorption can occur even with mild cleaners.
- Use a properly fitted dust mask rated N95 or better when sanding frets or wood.
- Protect your eyes with safety goggles during any work involving tools, chemicals, or spring-loaded components.
- Keep chemical products in original containers with clear labels to prevent dangerous mixtures.
- Never mix different cleaning products, as chemical reactions can produce toxic fumes.
- Store all restoration materials away from heat sources and out of reach of children and pets.
- Wash hands thoroughly after each work session even when wearing gloves.
- Keep a first aid kit and emergency contact numbers in your workspace.
“Proper safety equipment prevents 95% of restoration-related injuries. Invest in quality protective gear before starting any guitar restoration project.”
Physical strain from detailed work can cause repetitive stress injuries. Take frequent breaks, maintain good posture, and use proper lighting to reduce eye strain. Sharp tools require careful handling and storage. Keep fret files, scrapers, and cutting tools in protected cases when not in use.
Electrical safety matters when working with guitar electronics. Unplug all testing equipment when making connections. Use a grounded soldering station to prevent static discharge that damages sensitive components.
Summary and next steps for vintage guitar enthusiasts
Successful vintage guitar restoration balances preserving authenticity with improving playability. You’ve learned essential techniques for safe cleaning, structural repairs, and avoiding common mistakes that destroy value.
Patience separates excellent restorations from disasters. Rushing through steps, skipping documentation, or attempting repairs beyond your skill level leads to irreversible damage. Take time to research your specific guitar model, understand its construction, and plan each repair carefully.
Seek expert luthier help for complex structural work. Neck resets, bridge regluing, and major crack repairs require specialized knowledge and equipment. Professional guidance costs less than fixing amateur mistakes. The vintage guitar restoration guide connects you with experts who understand preservation principles.
Maintain detailed documentation throughout every stage. Your records prove restoration quality, guide future maintenance, and demonstrate value retention to insurance companies or buyers. Photograph each step, note materials used, and track time invested.
Start your restoration journey with realistic expectations and proper preparation. The techniques in this guide give you the foundation to restore vintage guitars safely and effectively while preserving their historical significance and collectible value.
Explore expert resources and vintage guitar tools
Restoring vintage guitars successfully requires trusted guidance and quality materials. Vintage Guitar World provides comprehensive resources supporting every stage of your restoration journey.

Access our detailed buying vintage guitars checklist to evaluate potential restoration projects before purchase. The vintage guitars expert guide helps you identify authentic instruments worth restoring versus problematic guitars better left alone. Find specialized tools, vintage-safe cleaning products, and quality replacement parts in the Vintage Guitar World shop, where every product meets the exacting standards collectors demand. Expert knowledge combined with proper materials transforms challenging restorations into rewarding preservation projects.
Frequently asked questions about vintage guitar restoration
Can all vintage guitars be restored to playable condition?
Most vintage guitars can be restored successfully if structural integrity remains intact. Guitars with severe body cracks, warped necks beyond adjustment range, or extensive wood rot may not be economically viable to restore. Professional assessment determines restoration feasibility and cost versus value.
How do I maintain collectible value while improving playability?
Preserve all original components whenever possible, using minimal intervention repairs. Document all work performed with photos and detailed notes. Focus on setup adjustments, cleaning, and reversible repairs rather than permanent modifications that reduce authenticity and market value.
When should I seek professional restoration help?
Consult a professional luthier for neck resets, bridge regluing, major crack repairs, or binding replacement. If you lack specialized tools, proper workspace, or confidence in your assessment, professional guidance prevents costly mistakes. Complex structural work always requires expert skills.
How often should I clean my restored vintage guitar?
Wipe down your guitar with a dry microfiber cloth after each playing session to remove oils and moisture. Perform deeper cleaning with vintage-safe polish every three to six months depending on playing frequency. Over-cleaning damages finishes more than moderate dust accumulation.
What determines how long a restoration project takes?
Project complexity, parts availability, and necessary settling time between adjustments determine duration. Basic cleaning and setup take four to six weeks, while extensive structural repairs require three to four months. Allow wood and glue to stabilize properly rather than rushing critical steps.