












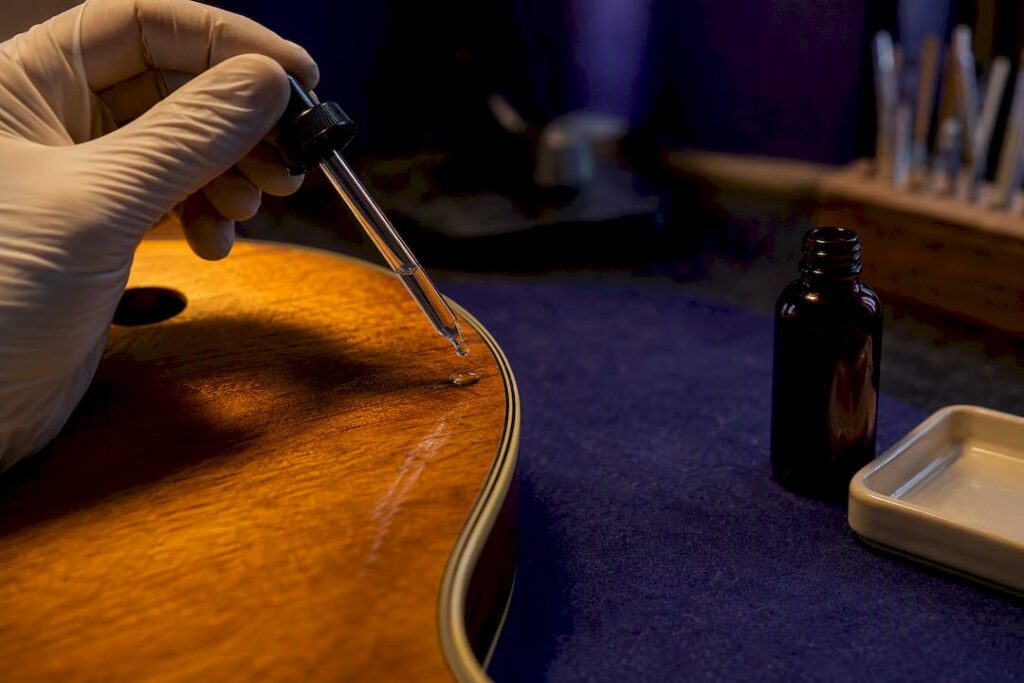

For a restoration where you want reversibility and period accuracy, shellac wins. For a working or touring instrument that needs to survive sweat, spills, and years of handling, nitrocellulose lacquer wins. The catch: shellac is easier to repair but far more fragile against heat and moisture, so your choice really depends on whether the guitar’s job is to be preserved or played hard.
TL;DR:
- Shellac is highly reversible and ideal for restoring vintage instruments, but it is more vulnerable to heat and moisture damage.
- Nitrocellulose lacquer offers better resistance to spills, temperature changes, and aging effects like yellowing and checking, making it suitable for active players.
- Applying shellac requires traditional pad rubbing techniques, while nitro is sprayed in multiple thin coats, and repairs demand different blending methods for each finish.
- Testing a hidden spot with denatured alcohol is essential to correctly identify the existing finish before any repair or overcoating.
- The choice between shellac and nitro should prioritize the instrument’s original finish, usage conditions, and maintenance capacity over tone differences.
Table of Contents
- Schellack vs. Nitro: A Quick Comparison
- The Chemistry Behind the Feel
- Applying and Repairing Each Finish in the Shop
- How Each Finish Ages and Holds Up
- Choosing the Right Finish for Your Project
- What Vintage-guitar-world Looks for in a Finish
- Our Take on the Shellac vs. Nitro Debate
- Sources
Schellack vs. Nitro: A Quick Comparison
Both finishes have loyal followings among luthiers, and both have real limitations that catalog copy tends to skip over. Here’s the honest breakdown.
Shellac (Schellackpolitur)
- Extremely thin film that lets the top vibrate with almost no added mass
- Fully reversible with denatured alcohol, a dream for restorers matching original finishes
- Reactivates under heat and friction, which means sweaty hands and a hot car seat are genuine threats
- Traditional French polishing (the “ballen” method) demands practice and patience
Nitro (Nitrocellulose Lacquer)
- Noticeably tougher against water, alcohol spills, and everyday cleaners once fully cured
- Ages the way vintage instruments are supposed to age: yellowing, checking, and wear patterns that collectors actually want
- Repairs blend more predictably with spot lacquer and careful sanding
- Slower cure schedule and stronger fumes during application
Some builders split the difference. A dewaxed shellac sealer coat under a nitro topcoat is a known technique among experienced finishers, though it demands testing before you commit a whole instrument to it.
The Chemistry Behind the Feel
Shellac and nitro age and touch differently because they cure through completely different mechanisms. Shellac is a natural resin secreted by the lac bug, dissolved in denatured alcohol and applied wet. As the alcohol evaporates, the resin simply falls out of solution and deposits on the wood. Nothing chemically changes in that resin. It stays thermoplastic, meaning heat and alcohol can dissolve and reshape it years later. That’s exactly why a French polish can be reactivated to fix a scratch, and exactly why a sweaty palm resting on a shellacked neck for an afternoon can leave a permanent cloudy mark.
Nitrocellulose lacquer works differently. It’s also solvent-based (typically lacquer thinner rather than alcohol), but as the solvent flashes off, the nitrocellulose polymer forms a continuous plastic film that shrinks and hardens into something closer to a fixed, cured coating. It won’t fully re-dissolve into a liquid puddle the way shellac does, which is why nitro resists water and household acids far better once fully cured, but also why repairing it means blending new material into old rather than simply melting the surface back together.
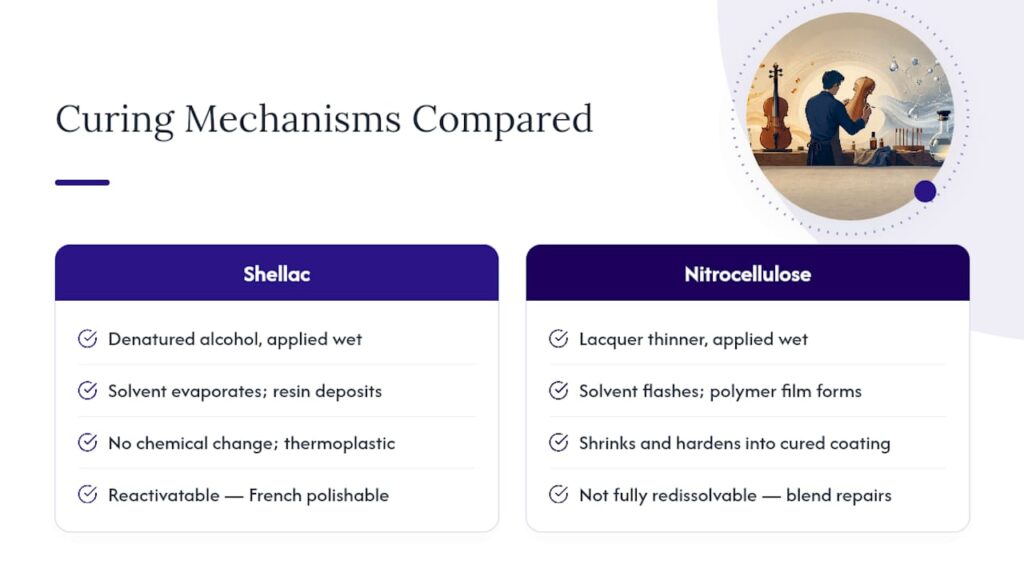
That distinction drives almost everything else in this comparison: how you fix a ding, how the guitar ages, and what solvent will strip it. Understanding solvent behavior before you pick up a rag saves you from ruining a finish you meant to save.
Applying and Repairing Each Finish in the Shop
Shellac and nitro demand different hands, different patience levels, and different repair logic.
Shellac application follows the traditional ballen (rubbing pad) method: a cotton wad wrapped in linen, charged with shellac and a drop of oil, worked in overlapping circles to build thin, glossy layers in a single session. Detailed step-by-step ballen technique guides walk through the padding pattern and how to avoid streaking. Nitro application goes on with a spray gun in multiple thin coats, each flashed off before the next, then leveled with wet sanding once the stack has cured enough to sand without gumming up.
Here’s a practical repair and compatibility workflow worth following before touching any vintage instrument:
- Identify the existing finish first. Dab a hidden spot with denatured alcohol; if it softens or lifts, you’re dealing with shellac, not nitro.
- Reactivate, don’t strip, for shellac repairs. A pad charged with alcohol and a touch of shellac can often blend a scratch invisibly.
- Blend and level for nitro repairs. Drop-fill with matching nitro, let it shrink for days, then level-sand and buff rather than trying to melt the old finish.
- Run a compatibility test before applying anything new. Sand an inconspicuous area to bare wood, apply your candidate finish, let it cure fully, then check with a solvent wipe and a light cross-cut adhesion test.
Shellac contains natural waxes unless it’s been specifically dewaxed, and those waxes can block adhesion for any solvent-borne finish applied over it later. If you’re layering shellac under nitro, use dewaxed shellac or mechanically abrade and solvent-wipe first. Workshop forum reports back this up repeatedly, with delamination showing up whenever the shellac layer wasn’t properly dewaxed or prepped.
Pro Tip: Photograph and label every test patch you run, including the date and solvent used. Six months later you won’t remember which corner got which treatment, and that record is the only thing standing between you and a ruined top.
Work in a ventilated space regardless of which finish you’re using. Shellac’s alcohol fumes are milder than nitro’s lacquer thinner, but neither belongs in a closed room for hours at a time.
How Each Finish Ages and Holds Up
Nitro beats shellac on raw chemical resistance. Once cured, it shrugs off water, alcohol, and mild cleaners in ways shellac simply can’t; shellac stays sensitive to sweat and heat for the life of the instrument. Shellac wins on repairability, since a skilled hand can spot-reactivate a scratch without ever stripping the whole top.
The aging patterns differ too. Nitro is famous for the yellowing and fine checking that define the “played-in” vintage look many players chase, a direct result of nitrocellulose’s thin, flexible film aging under stress and temperature swings. Shellac ages more subtly, darkening slightly and developing a soft patina rather than visible cracks. Wear patterns on both finishes, especially forearm wear and belt-buckle marks, are part of what collectors look for as proof of an honest, well-loved instrument.
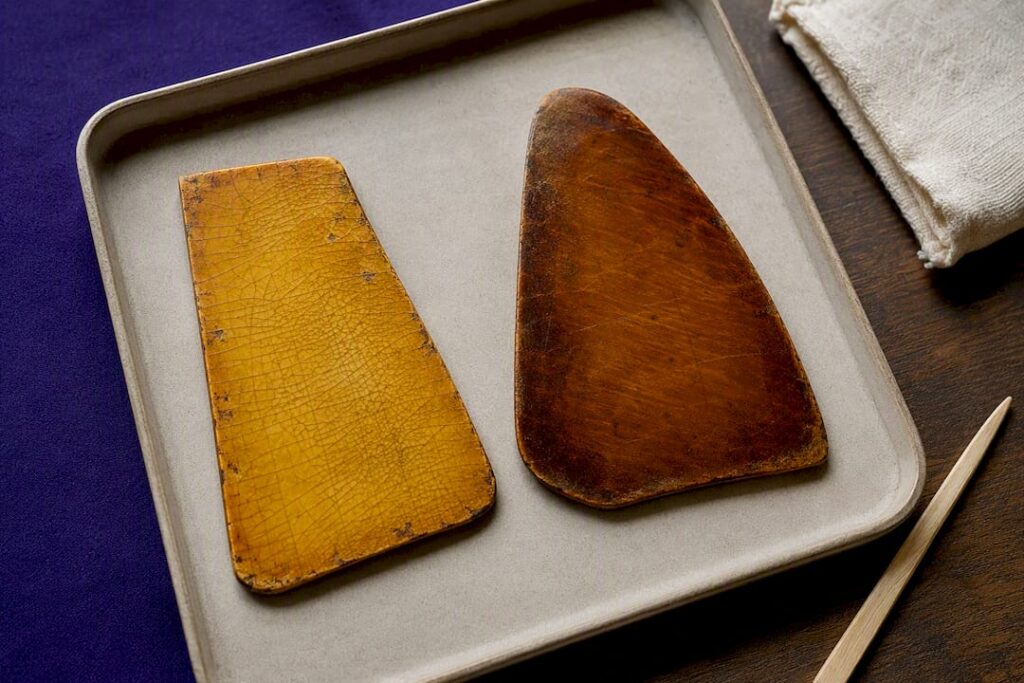
Care routines split accordingly. Wipe shellac with a barely damp cloth only, never a wet one, and keep it away from radiators. Nitro tolerates a proper guitar polish and light cleaning but should still avoid rubber contact, since plasticizers in rubber and vinyl can leach into and cloud the finish over time.
Choosing the Right Finish for Your Project
Match the finish to the job, not to whichever one you’ve heard more about.
- Restoring a vintage or historically significant instrument: default to shellac if that’s what the original builder used. Reversibility means every repair stays honest to the instrument’s history.
- Prepping a guitar for regular touring or heavy stage use: nitro handles knocks, spills, and temperature swings far better, and modern polyester finishes go even further if pure toughness is the only goal.
- Building or restoring a display piece for a collection: let historical accuracy and desired patina drive the decision, since nitro was the standard on most American-built guitars through the 1950s and ’60s and shellac dominated earlier European and classical instruments.
Before you commit, ask three questions: What was the original finish, if any? How will this guitar actually be handled day to day? And how much long-term maintenance are you honestly willing to do? Answer those honestly and the finish choice usually picks itself. Worth noting: measured tonal differences between finishes tend to be smaller than what wood, pickups, and setup contribute, so don’t let tone anxiety override the practical call.
What Vintage-guitar-world Looks for in a Finish
Every instrument that passes through Vintage-guitar-world’s evaluation process gets its finish assessed the same way a repair tech would: identify the material, test for reactivity, and document condition before any work begins. A quick, low-risk shop test any restorer can run: pick an inconspicuous spot, apply a drop of denatured alcohol, and watch for softening. Softening points to shellac; no reaction points to nitro or a harder synthetic topcoat. For a deeper walkthrough of application and repair steps, see our practical guide to shellac and nitro finishing.
Our Take on the Shellac vs. Nitro Debate
The finish debate gets treated like a religious argument when it’s really a maintenance question wearing a tone-quality costume. Measured differences in sound between shellac and nitro are modest next to what wood selection and setup contribute, yet forums argue about it endlessly while skipping the question that actually matters: who’s going to maintain this instrument, and how?
Conventional advice leans hard on “nitro lets the wood breathe” without ever mentioning that shellac’s real advantage is reversibility, not tone. A repair tech can undo forty years of shellac damage in an afternoon with a bottle of alcohol. Undoing nitro damage means adding material back, not removing it. That asymmetry should drive your decision more than any romantic notion about vibration.
If you’re restoring something historically significant, prioritize what the instrument originally wore, and test before you touch it. If you’re building a player’s guitar, stop worrying about which finish sounds better and pick the one that survives the way you’ll actually use the instrument.
— Vintage
Sources
- Lacquer or Shellac: How Do Solvents and Drying Define Your Finish? – Wood Work Science
- Kurzanleitung Schellackpolitur – Antik-Greef
- Lutherie Academy resource on shellac properties
- Oil, shellac, nitro, polyester and urethane: what gives – Premier Guitar