













TL;DR:
- Guitar headstock repair restores strength and playability after damage caused by impacts or shifting humidity. Proper joinery, adhesive choice, and moisture control are essential for a durable, invisible fix. Prevention through careful storage and humidity regulation reduces the need for costly repairs.
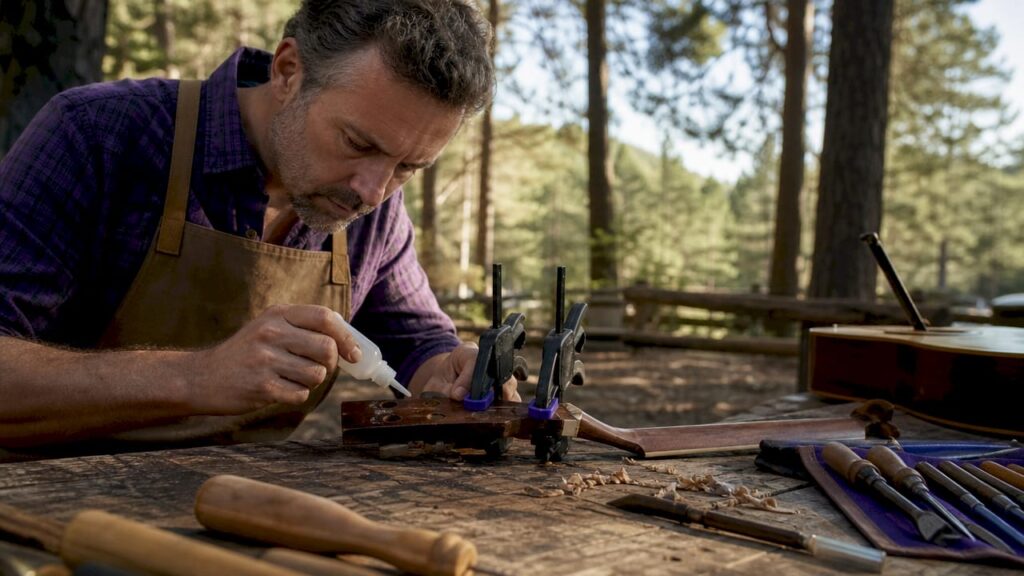
Guitar headstock repair is the process of rejoining, reinforcing, and refinishing a broken or cracked headstock so the instrument regains its full structural integrity and playability. The headstock is the most vulnerable part of a guitar neck. It sits at the end of a long lever arm and absorbs the full force of any fall or impact. A six-string guitar places up to 100 pounds of torque on the headstock from string tension alone. That force means a repaired joint must withstand 20–30 psi of pull without failing. Understanding what guitar headstock repair involves, from joinery techniques to adhesive selection, is the first step toward saving an instrument you care about.
What is guitar headstock repair, and why does it matter?
Guitar headstock repair is a specialized form of guitar neck repair that restores the structural connection between the headstock and the neck shaft. The headstock holds the tuning machines and anchors the strings. Without it, the guitar cannot hold pitch or even be played. The repair matters because a poorly executed fix will fail under string tension, often within weeks.
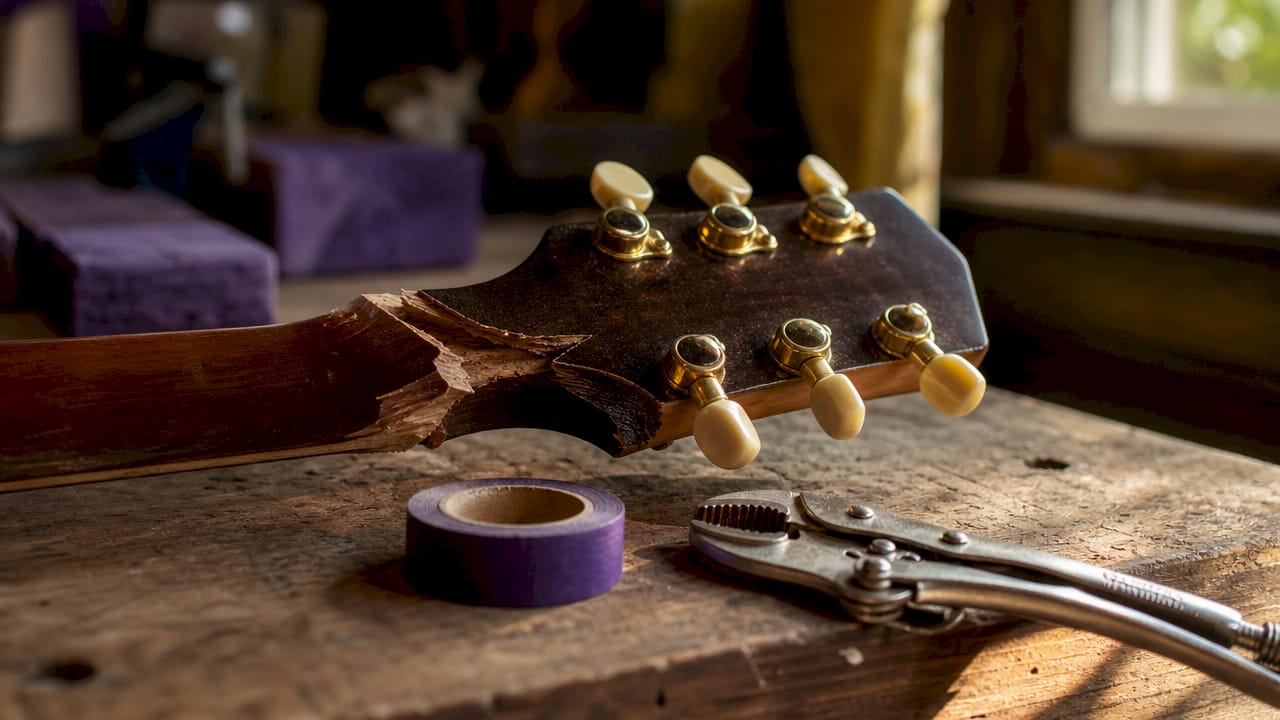
The headstock’s position makes it structurally exposed. When a guitar falls, the neck acts as a lever and concentrates the impact force directly at the headstock joint. This is why headstock breaks are among the most common guitar injuries, even on well-made instruments. Recognizing the physics behind the damage helps you understand why surface gluing alone is never enough.
Vintage-guitar-world treats headstock integrity as a core factor in instrument valuation. A guitar with a well-executed, invisible repair retains most of its value. A guitar with a failed or cosmetically botched repair loses both playability and collector appeal. The repair is not just about looks. It is about keeping the instrument alive.
Common types of guitar headstock damage and their causes
Headstock damage falls into four main categories, and each one calls for a different repair approach.
- Clean breaks. The headstock separates along a single fracture line. Clean breaks offer more gluing surface and are generally the simplest to repair correctly.
- Splintered breaks. The wood shatters into multiple fragments. These require careful reassembly before any structural reinforcement can be applied.
- Hairline cracks. Thin cracks that have not fully separated. They are easy to miss but will widen under string tension if left untreated.
- Delaminations. Layers of wood or finish separate without a clean break. Common on laminate-top guitars or instruments with thick lacquer finishes.
The causes behind these damage types are equally varied. Drops and impacts are the most obvious culprits. A guitar falling off a stand, tipping out of a case, or being knocked against a door frame can snap a headstock instantly. Humidity changes are a slower but equally destructive force. Wood expands approximately 0.2% for every 10% change in relative humidity. That expansion and contraction cycles stress the wood fibers over time, opening hairline cracks that eventually become full breaks.
Wood species also affects damage patterns. Mahogany, used in many acoustic and electric necks, is relatively forgiving. Maple is harder but can fracture more cleanly. Exotic tonewoods used in some classical and flamenco instruments may splinter unpredictably. Knowing your guitar’s wood type helps predict how a break will behave and which repair method will hold.
Repair techniques and materials that actually hold
The repair method must match the break type. A simple glue-up is rarely sufficient on its own. Scarf joints provide over 3,000 psi of strength compared to roughly 500 psi for a basic butt joint. That difference is what separates a repair that lasts decades from one that fails at the first string change.
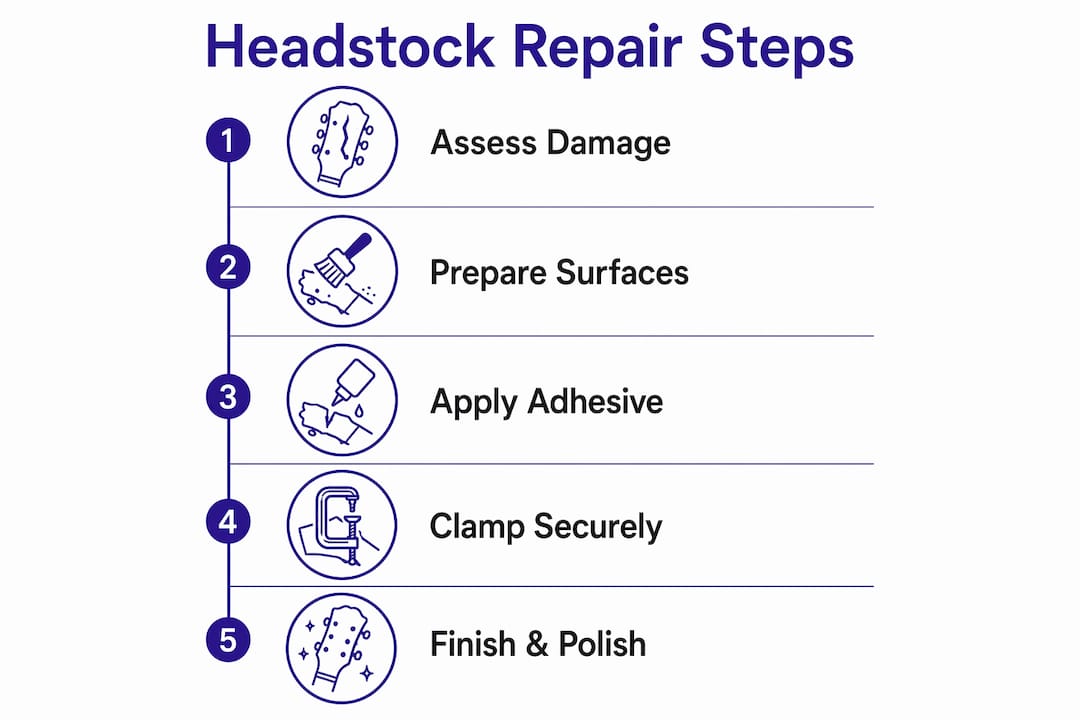
Joinery methods
A scarf joint cut at an 8:1 to 12:1 ratio creates a large gluing surface that distributes tension across a wide area. This is the preferred method for new neck construction and for severe breaks where the original joint geometry is compromised. Backstrap overlays, thin strips of hardwood or carbon fiber glued across the back of the repair site, add a second layer of reinforcement without adding significant weight. Carbon fiber backstraps are particularly effective on instruments where playability must not be compromised.
Adhesives and finishing materials
Adhesive selection is critical. Titebond Genuine Hide Glue is the professional standard for wood-to-wood joints because it creeps less under sustained load than PVA glues. Epoxy works well for splintered breaks where gap-filling is needed, but it cannot be reversed without heat, which complicates future repairs. Tru-Oil is a common finish for touch-up work because it blends well with existing nitrocellulose lacquer on vintage instruments.
Clamping time matters as much as adhesive choice. Professional luthiers often clamp repaired headstocks for a full week to allow the glue to cure fully under controlled conditions. Rushing this step is one of the most common reasons amateur repairs fail.
Pro Tip: Keep the repair area at 65–75°F and 45–55% relative humidity during clamping. Temperature and moisture swings during cure time weaken the final bond even if the adhesive itself is correct.
Moisture content in the wood must be at 6–8% before and after repair. Wood outside this range will re-crack as it acclimates, pulling the new joint apart from the inside. A basic digital moisture meter costs under $30 and removes all guesswork from this step.
Professional vs. DIY repair: cost, tools, and results
The decision between professional and DIY headstock repair comes down to three factors: the severity of the break, your skill level, and your tolerance for risk on a valued instrument.
Repair costs range from under $50 for DIY materials to over $500 for professional work on a severe break. That gap reflects the difference in tools, expertise, and time. A professional luthier brings a calibrated setup, years of experience reading wood grain, and the ability to match finish work invisibly. A careful hobbyist can achieve a structurally sound repair on a clean break, but finish matching on a vintage instrument is genuinely difficult without practice.
| Factor | DIY approach | Professional repair |
|---|---|---|
| Cost | Under $50 for materials | $150–$500 or more |
| Tools needed | Clamps, moisture meter, adhesive | Full luthier shop setup |
| Finish quality | Variable, depends on skill | Consistent, often invisible |
| Best for | Clean breaks on non-collectible guitars | Splintered breaks, vintage instruments |
| Risk level | Higher without experience | Low with a qualified luthier |
The most common DIY pitfall is moisture mismanagement. Hobbyists often glue a repair without checking wood moisture content, then wonder why the joint opens again within a month. The second most common mistake is using the wrong adhesive. Standard wood glue works for furniture but lacks the creep resistance needed under sustained string tension.
Pro Tip: If the guitar has collector value, always consult a qualified luthier before attempting any repair. A botched DIY fix on a vintage instrument can permanently reduce its value.
Roughly 70% of professional luthiers began their careers by performing DIY headstock repairs. That statistic shows these repairs are genuinely skill-building projects. They teach wood behavior, adhesive chemistry, and clamping mechanics in a single job. If you are learning, start on a low-value instrument before working on anything irreplaceable.
How to protect your headstock and prevent future damage
Prevention is far cheaper than repair. These steps reduce the risk of headstock damage significantly.
- Store guitars in a hard case when not in use. A guitar on a wall hook or open stand is one accidental bump away from a broken headstock. Hard cases absorb impact and protect the neck angle.
- Control humidity year-round. Keep your storage area between 45% and 55% relative humidity. A room humidifier or a case humidifier like a Dampit controls moisture without requiring constant monitoring. The acoustic guitar preservation workflow covers this in detail.
- Inspect the headstock joint quarterly. Run your fingernail along the back of the neck where it meets the headstock. Any ridge or gap indicates a developing crack. Catching it early means a simple glue injection rather than a full structural repair.
- Avoid temperature extremes. Never leave a guitar in a car on a hot day or in an unheated space in winter. Rapid temperature changes cause wood to contract and expand faster than the finish can flex, opening cracks at the weakest points.
- Check tuning machine screws regularly. Loose tuning machines create micro-vibrations that stress the headstock wood over time. Tighten them to snug, not overtight, with a small screwdriver.
Distinguishing normal aging from repair indicators saves unnecessary work. Checking the finish for fine crazing or checking is normal on older instruments and does not indicate structural weakness. A crack that runs through the wood grain, especially near the nut or tuning machine holes, requires immediate attention.
Key takeaways
Guitar headstock repair succeeds when the right joinery method, adhesive, and moisture control are applied together from the start.
| Point | Details |
|---|---|
| Joinery method matters most | Scarf joints at 8:1–12:1 ratio outperform butt joints by a factor of six in pull strength. |
| Adhesive selection is critical | Titebond Genuine Hide Glue or epoxy outperforms standard PVA glue under sustained string tension. |
| Moisture content controls outcomes | Wood must be at 6–8% moisture before and after repair to prevent re-cracking. |
| DIY vs. professional depends on break type | Clean breaks suit careful DIY work; splintered or vintage instrument breaks need a professional luthier. |
| Prevention beats repair every time | Hard case storage and humidity control between 45–55% eliminate most headstock damage risks. |
What I’ve learned from watching headstock repairs go right and wrong
The most consistent mistake I see is treating headstock repair as a cosmetic problem. Guitar owners focus on whether the finish looks right and ignore whether the joint is structurally sound. A beautiful finish over a weak glue joint will fail. A slightly visible repair over a properly executed scarf joint will last the life of the instrument.
Patience is the skill that separates lasting repairs from repeat failures. Rushing the clamping period, skipping moisture measurement, or applying finish before the adhesive has fully cured are all decisions made in impatience. Every one of them shows up later as a reopened crack or a bubbled finish.
The classical guitar restoration guide at Vintage-guitar-world makes a point I agree with completely: understanding how a guitar was built is the foundation of repairing it well. If you know why a headstock is angled the way it is, you understand the forces acting on the repair site. That knowledge changes every decision you make.
For enthusiasts who want to develop real repair skills, headstock work is the right starting point. It is contained, teachable, and the results are immediately testable under string tension. Start on an inexpensive instrument. Learn the wood. Learn the glue. Then apply that knowledge to instruments that matter.
— Vintage
Vintage-guitar-world and the guitars worth repairing
Not every guitar deserves the same level of repair investment. The instruments that do are the ones built with genuine craftsmanship, quality tonewoods, and a history worth preserving.

Vintage-guitar-world curates a collection of vintage and handcrafted guitars that represent exactly that standard. Each instrument in the collection has been evaluated for structural integrity, tonal quality, and historical significance. For guitar owners who care about preservation, knowing what a well-built instrument looks like before damage occurs is the best education available. Vintage-guitar-world also provides detailed guidance on instrument history and craftsmanship, giving collectors the context to make informed decisions about repair, restoration, and acquisition.
FAQ
What is a guitar headstock?
The guitar headstock is the flat section at the top of the neck that holds the tuning machines and anchors the strings. Its angle and shape directly affect string tension and playability.
What causes most headstock cracks?
Drops and impacts cause the majority of headstock breaks, with humidity fluctuations contributing to hairline cracks over time. Wood expands approximately 0.2% for every 10% change in relative humidity, stressing the joint repeatedly.
Can a broken headstock be fully repaired?
A clean break repaired with proper joinery and professional-grade adhesive can restore full structural strength. Splintered breaks may require carbon fiber reinforcement or wood grafting for a lasting result.
How much does guitar headstock repair cost?
DIY materials typically cost under $50, while professional repairs range from $150 to over $500 depending on damage severity and finish work required.
When should I choose a professional over DIY repair?
Choose a professional luthier for splintered breaks, vintage or collectible instruments, or any repair where finish matching is critical to the guitar’s value.