














Buying a used guitar can feel like a gamble. More than 60 percent of guitarists miss key faults during their first inspection of a used instrument, turning what seemed like a great deal into an expensive repair project. Visual checks alone rarely reveal structural weaknesses, worn frets, or playability issues that emerge only after thorough testing. This guide walks you through essential checks that protect your investment, from neck inspection to sound quality assessment, ensuring you walk away with a guitar that plays beautifully and holds its value.
Table of Contents
- Why Visual Inspection Alone Isn’t Enough
- Essential Checks To Perform When Testing Guitars
- Common Pitfalls And Mistakes Buyers Make When Testing Guitars
- Comparing Tested Guitars: Examples Of Successful Vs. Problematic Buys
- Explore Vintage Guitars With Confidence
Key takeaways
| Point | Details |
|---|---|
| Testing reveals hidden damage | Visual inspection misses structural issues, worn frets, and internal damage that affect playability and value. |
| Neck repairs cost the most | Thorough neck inspection prevents the most expensive repair bills down the road. |
| Sound quality matters as much as looks | Playing every fret and testing tone uncovers problems that photos never show. |
| Good lighting exposes flaws | Bright, directional lighting reveals cracks, finish checking, and subtle imperfections invisible in dim conditions. |
| Preparation prevents regret | A systematic testing approach separates excellent guitars from money pits before you commit. |
Why visual inspection alone isn’t enough
First impressions deceive. A guitar might look pristine in photos or under store lighting, yet harbor serious problems that only emerge during actual playing. More than 60 percent of guitarists miss key faults during initial visual checks, discovering issues only after money changes hands. This happens because structural problems, fret wear, and playability issues don’t always announce themselves to the naked eye.
The neck deserves special attention because neck repairs are the most expensive component to fix or replace. A twisted neck or one with excessive relief can render an otherwise beautiful guitar nearly unplayable. Yet these problems often go unnoticed during quick visual scans, especially when buyers focus on cosmetic appeal rather than structural integrity.
Common hidden problems include:
- Fret wear that causes buzzing and intonation issues
- Hairline cracks in the body or neck that expand over time
- Internal bracing damage that affects tone and stability
- Worn nut slots that compromise tuning stability
- Loose or damaged tuning machines that slip during play
Lighting makes an enormous difference in what you can detect. Bright, angled light reveals finish checking, small cracks, and repaired areas that disappear under overhead fluorescents. An inexperienced eye scanning a guitar in poor lighting conditions will miss subtle warning signs that experienced collectors spot immediately. Setting up a proper inspection environment isn’t optional, it’s essential.
Pro Tip: Hold the guitar at different angles under a bright LED light to catch finish cracks and repairs that blend in under uniform lighting.
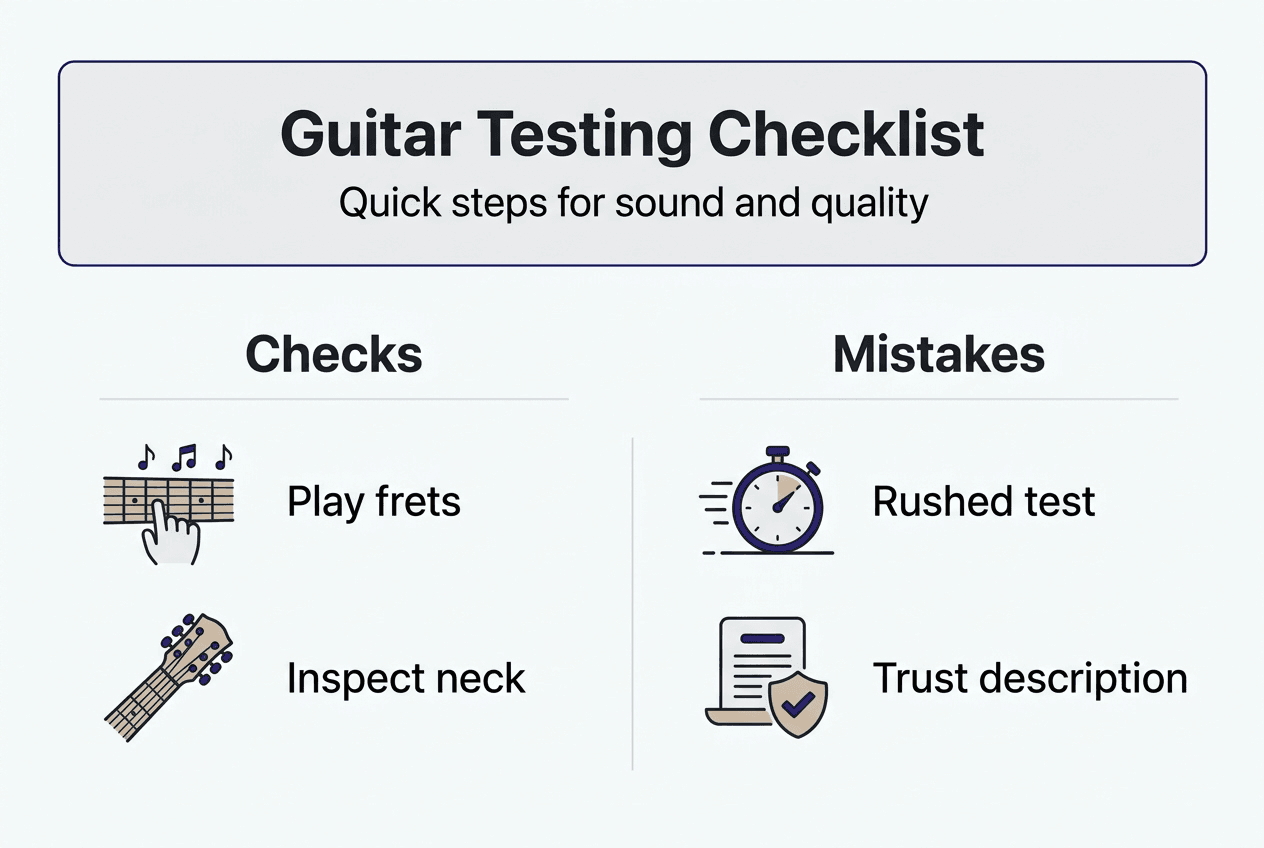
Many buyers also rush the process, spending five minutes on a guitar that deserves thirty. They trust seller descriptions without verification, assume good cosmetics mean good playability, and skip systematic checks of every component. This approach works fine until you discover a $500 repair bill waiting three months down the road. A vintage guitar buying checklist helps ensure nothing gets overlooked during the excitement of a potential purchase.
Essential checks to perform when testing guitars
Systematic testing starts with visual inspection under optimal conditions. Position the guitar under bright, white LED lighting that reveals every surface detail. Examine the finish for cracks, checking (fine spider web patterns), and repaired areas that might indicate previous damage. Visual inspection identifies potential issues like cracks, fret wear, and structural damage that affect both playability and long term value.
Follow this numbered sequence for complete evaluation:
- Sight down the neck from both headstock and body ends to check for warping, twisting, or excessive relief that indicates structural problems.
- Press each fret individually while playing the string to identify high frets, dead spots, or buzzing that reveals fret leveling issues.
- Check action height at the 12th fret, comparing measurements to manufacturer specifications for the guitar type and style.
- Test intonation by playing the 12th fret harmonic and comparing it to the fretted note at the same position.
- Inspect the nut for worn slots, cracks, or improper filing that causes tuning instability and string buzz.
- Examine bridge saddles for wear, corrosion, or damage that affects intonation and sustain.
- For electric guitars, test every pickup position, volume control, and tone control through an amplifier.
- Check all hardware screws, strap buttons, and tuning machines for looseness or damage.
Neck inspection deserves extra time because neck repairs cost the most to fix. Hold the guitar at eye level and sight down the fretboard from the headstock. The neck should show a slight, uniform curve with no twists, waves, or flat spots. Press the first and last frets simultaneously while checking the gap at the 8th fret. This gap should measure between 0.010 and 0.015 inches for most guitars, though preferences vary by playing style.
Pro Tip: Bring a straight edge and feeler gauges to measure neck relief precisely rather than relying on visual estimates.
Sound quality testing requires playing every fret on every string. Start at the first fret and work your way up, listening for consistent volume, clear tone, and absence of buzzing or dead spots. Pay special attention to the upper frets where neck angle problems often manifest. Bend strings at various positions to ensure they don’t choke out or lose sustain. Testing vintage guitars thoroughly reveals playability issues that photos and descriptions never capture.

Electronics testing applies to electric and acoustic electric guitars. Plug into an amplifier and switch between pickup positions while playing. Listen for crackling in potentiometers, dead spots in pickup selector switches, and intermittent output that indicates wiring problems. Tap each pickup gently with a screwdriver to verify output and check for microphonic feedback. Roll volume and tone controls through their full range, listening for scratchy or inconsistent response.
Playability assessment ties everything together. Sit or stand as you normally would and play through chord progressions, scales, and techniques you use regularly. The guitar should feel comfortable, respond to your touch, and inspire you to keep playing. If something feels off during this test, trust your instincts regardless of how good the deal seems.
Common pitfalls and mistakes buyers make when testing guitars
Skipping detailed neck inspection ranks as the costliest mistake buyers make. Neck repairs are the most expensive component to fix, yet many buyers give the neck only a cursory glance before focusing on cosmetics or electronics. A twisted neck or one with a back bow can cost hundreds to repair, sometimes exceeding the guitar’s purchase price. This oversight happens when excitement overrides systematic evaluation.
Common testing mistakes include:
- Testing only a few frets instead of playing every position on every string
- Relying on the seller’s description without personal verification of condition and playability
- Skipping electronics testing because the guitar looks clean and well maintained
- Forgetting to check tuning stability after playing for several minutes
- Ignoring minor issues that compound into major problems over time
Many buyers also fail to simulate real playing conditions during testing. They strum a few chords in a quiet room rather than playing through an amplifier at performance volume. They test with fresh strings when the guitar will ship with old ones. They play sitting down when they normally perform standing up. These shortcuts miss problems that only emerge during actual use.
Pro Tip: Spend at least 20 minutes playing the guitar in conditions that match your typical use, including amplifier settings and playing position.
Another frequent error involves trusting cosmetic condition as a proxy for overall quality. A guitar with pristine finish and shiny hardware might have serious playability issues, while a road worn instrument with honest wear could play beautifully. Appearance matters for resale value, but it tells you nothing about fret condition, neck stability, or electronic function. Avoiding vintage guitar buying mistakes requires separating cosmetic appeal from structural integrity.
Buyers often neglect to test components under stress. They check tuning machines by turning them gently rather than applying the tension needed during string changes. They tap pickups softly instead of playing aggressively to reveal microphonic issues. They accept slight fret buzz as normal rather than investigating whether it indicates a deeper problem. This gentle approach misses defects that emerge during real world use.
Time pressure creates mistakes too. Sellers sometimes create artificial urgency, claiming other buyers are interested or that the price will increase soon. This pressure causes buyers to rush through testing, skip important checks, and make decisions based on emotion rather than thorough evaluation. Taking your time, even if it means losing a particular guitar, prevents expensive regrets.
Comparing tested guitars: examples of successful vs. problematic buys
Real world examples illustrate the difference between thorough testing and superficial checks. Consider two guitar purchases made within the same month, one carefully evaluated and one rushed through based primarily on photos and seller assurances. The outcomes demonstrate why systematic testing matters more than trusting descriptions or visual appeal.
A collector shopping for a 1960s acoustic spent two hours inspecting a guitar before purchase. She checked every fret for wear, sighted the neck under bright lighting, tested electronics with multiple amplifiers, and played through her typical repertoire. She discovered minor fret wear that the seller hadn’t mentioned and negotiated a $200 price reduction to cover eventual refret costs. The guitar arrived exactly as tested, played beautifully, and required only the anticipated fret work two years later. Total investment including repairs came in $300 below market value for a comparable instrument.
In contrast, a Jackson RR1 purchase went wrong when the ebony fretboard arrived significantly cracked and the case showed damage not disclosed in the listing. The buyer had relied on photos and the seller’s description without arranging in person testing or requesting detailed condition videos. The cracks weren’t visible in listing photos taken under soft lighting from flattering angles. The buyer faced a choice between expensive repairs or returning the guitar and losing shipping costs both ways.
| Aspect | Successful Purchase | Problematic Purchase |
|---|---|---|
| Testing time | 2 hours in person | Photos only, no hands on testing |
| Neck inspection | Sighted from multiple angles under bright light | Relied on listing photos |
| Fret check | Played every fret, identified minor wear | Assumed frets were fine based on appearance |
| Electronics test | Tested all positions through multiple amps | Not applicable, acoustic guitar |
| Outcome | Negotiated price reduction, guitar as expected | Significant undisclosed damage, return recommended |
| Total cost | $300 below market after planned repairs | Shipping costs plus return hassle |
These contrasting outcomes highlight how proper used guitar evaluation protects both your budget and peace of mind. The successful buyer invested time in systematic testing and discovered leverage for price negotiation. The problematic purchase resulted from trusting descriptions over verification, a mistake that cost time, money, and frustration.
Financial impact extends beyond the initial purchase price. The well tested guitar required only anticipated maintenance, allowing the buyer to budget accordingly. The poorly evaluated instrument demanded immediate attention for problems that should have been disclosed or discovered before purchase. When factoring in shipping costs, repair estimates, and the time spent resolving the issue, the problematic purchase cost significantly more than its listing price suggested.
Emotional outcomes differ too. The careful buyer felt confident in her purchase, enjoyed playing the guitar immediately, and built trust with a seller who became a repeat source. The rushed buyer experienced disappointment, stress from dispute resolution, and hesitation about future vintage purchases. Thorough testing creates positive experiences that make guitar collecting enjoyable rather than anxiety inducing.
Explore vintage guitars with confidence
Finding the right vintage guitar doesn’t have to feel risky when you have expert guidance and systematic testing approaches. Vintage Guitar World provides comprehensive resources that help you evaluate instruments thoroughly before committing your money. Their vintage guitar buying checklist covers every critical inspection point, from neck evaluation to electronics testing, ensuring nothing gets overlooked during your assessment.

Their curated inventory undergoes expert evaluation before listing, reducing the surprises that plague many used guitar purchases. Each instrument comes with detailed condition reports, professional photos under proper lighting, and transparent disclosure of any issues or repairs. You can also access their comprehensive testing guide that walks through evaluation techniques professionals use. Whether you’re buying from their collection or elsewhere, Vintage Guitar World equips you with knowledge that protects your investment and ensures you get instruments that play as beautifully as they look.
FAQ
How do I check the neck of a vintage guitar properly?
Sight down the neck from both the headstock and body ends under bright lighting to detect warping, twisting, or excessive relief. Press the first and last frets simultaneously while checking the gap at the 8th fret, which should measure 0.010 to 0.015 inches for most guitars. Neck repairs cost the most to fix, making thorough inspection essential before purchase.
What lighting and tools do I need for testing a used guitar thoroughly?
Use bright, white LED lighting positioned at angles to the guitar surface, revealing cracks and finish issues invisible under overhead lights. Good lighting and workspace organization prove crucial for detecting subtle imperfections during inspection. Essential tools include a chromatic tuner, capo, flashlight for inspecting internal areas, straight edge for checking neck relief, and feeler gauges for measuring action and fret height precisely.
How can I ensure the electronics work properly on a vintage electric guitar?
Plug the guitar into an amplifier and systematically test each pickup position, volume control, and tone control while playing. Listen carefully for crackling noises, dead spots, or inconsistent output that indicate failing potentiometers, corroded switch contacts, or damaged wiring. Tap each pickup gently with a screwdriver to verify output and check for microphonic squealing that suggests loose windings or failing components.
Should I trust seller descriptions or insist on personal testing?
Always verify condition personally or through detailed videos rather than relying solely on seller descriptions, as many issues go undisclosed accidentally or intentionally. Request close up photos of specific areas like frets, neck joint, and electronics cavities under good lighting. If buying remotely, ask for videos showing the guitar being played through an amplifier with clear audio, demonstrating tuning stability and showcasing any cosmetic issues from multiple angles.